Tuesday, December 23, 2014

Quilted with Love for Two Very Special People

I realized today that it has been a long time since I last posted. Life as they say has gotten in the way.  It has been a busy fall with subbing, and sewing and travel.

I started a quilt for my niece, Paige, and was planning to make it for her as Christmas gift and was thinking of what to make her brother, Joey, when I was out with a friend at one of the local quilt shops and saw a fabric that just yelled :JOEY!" at me. It was hockey fabric, with a  panel that was perfect for the center.

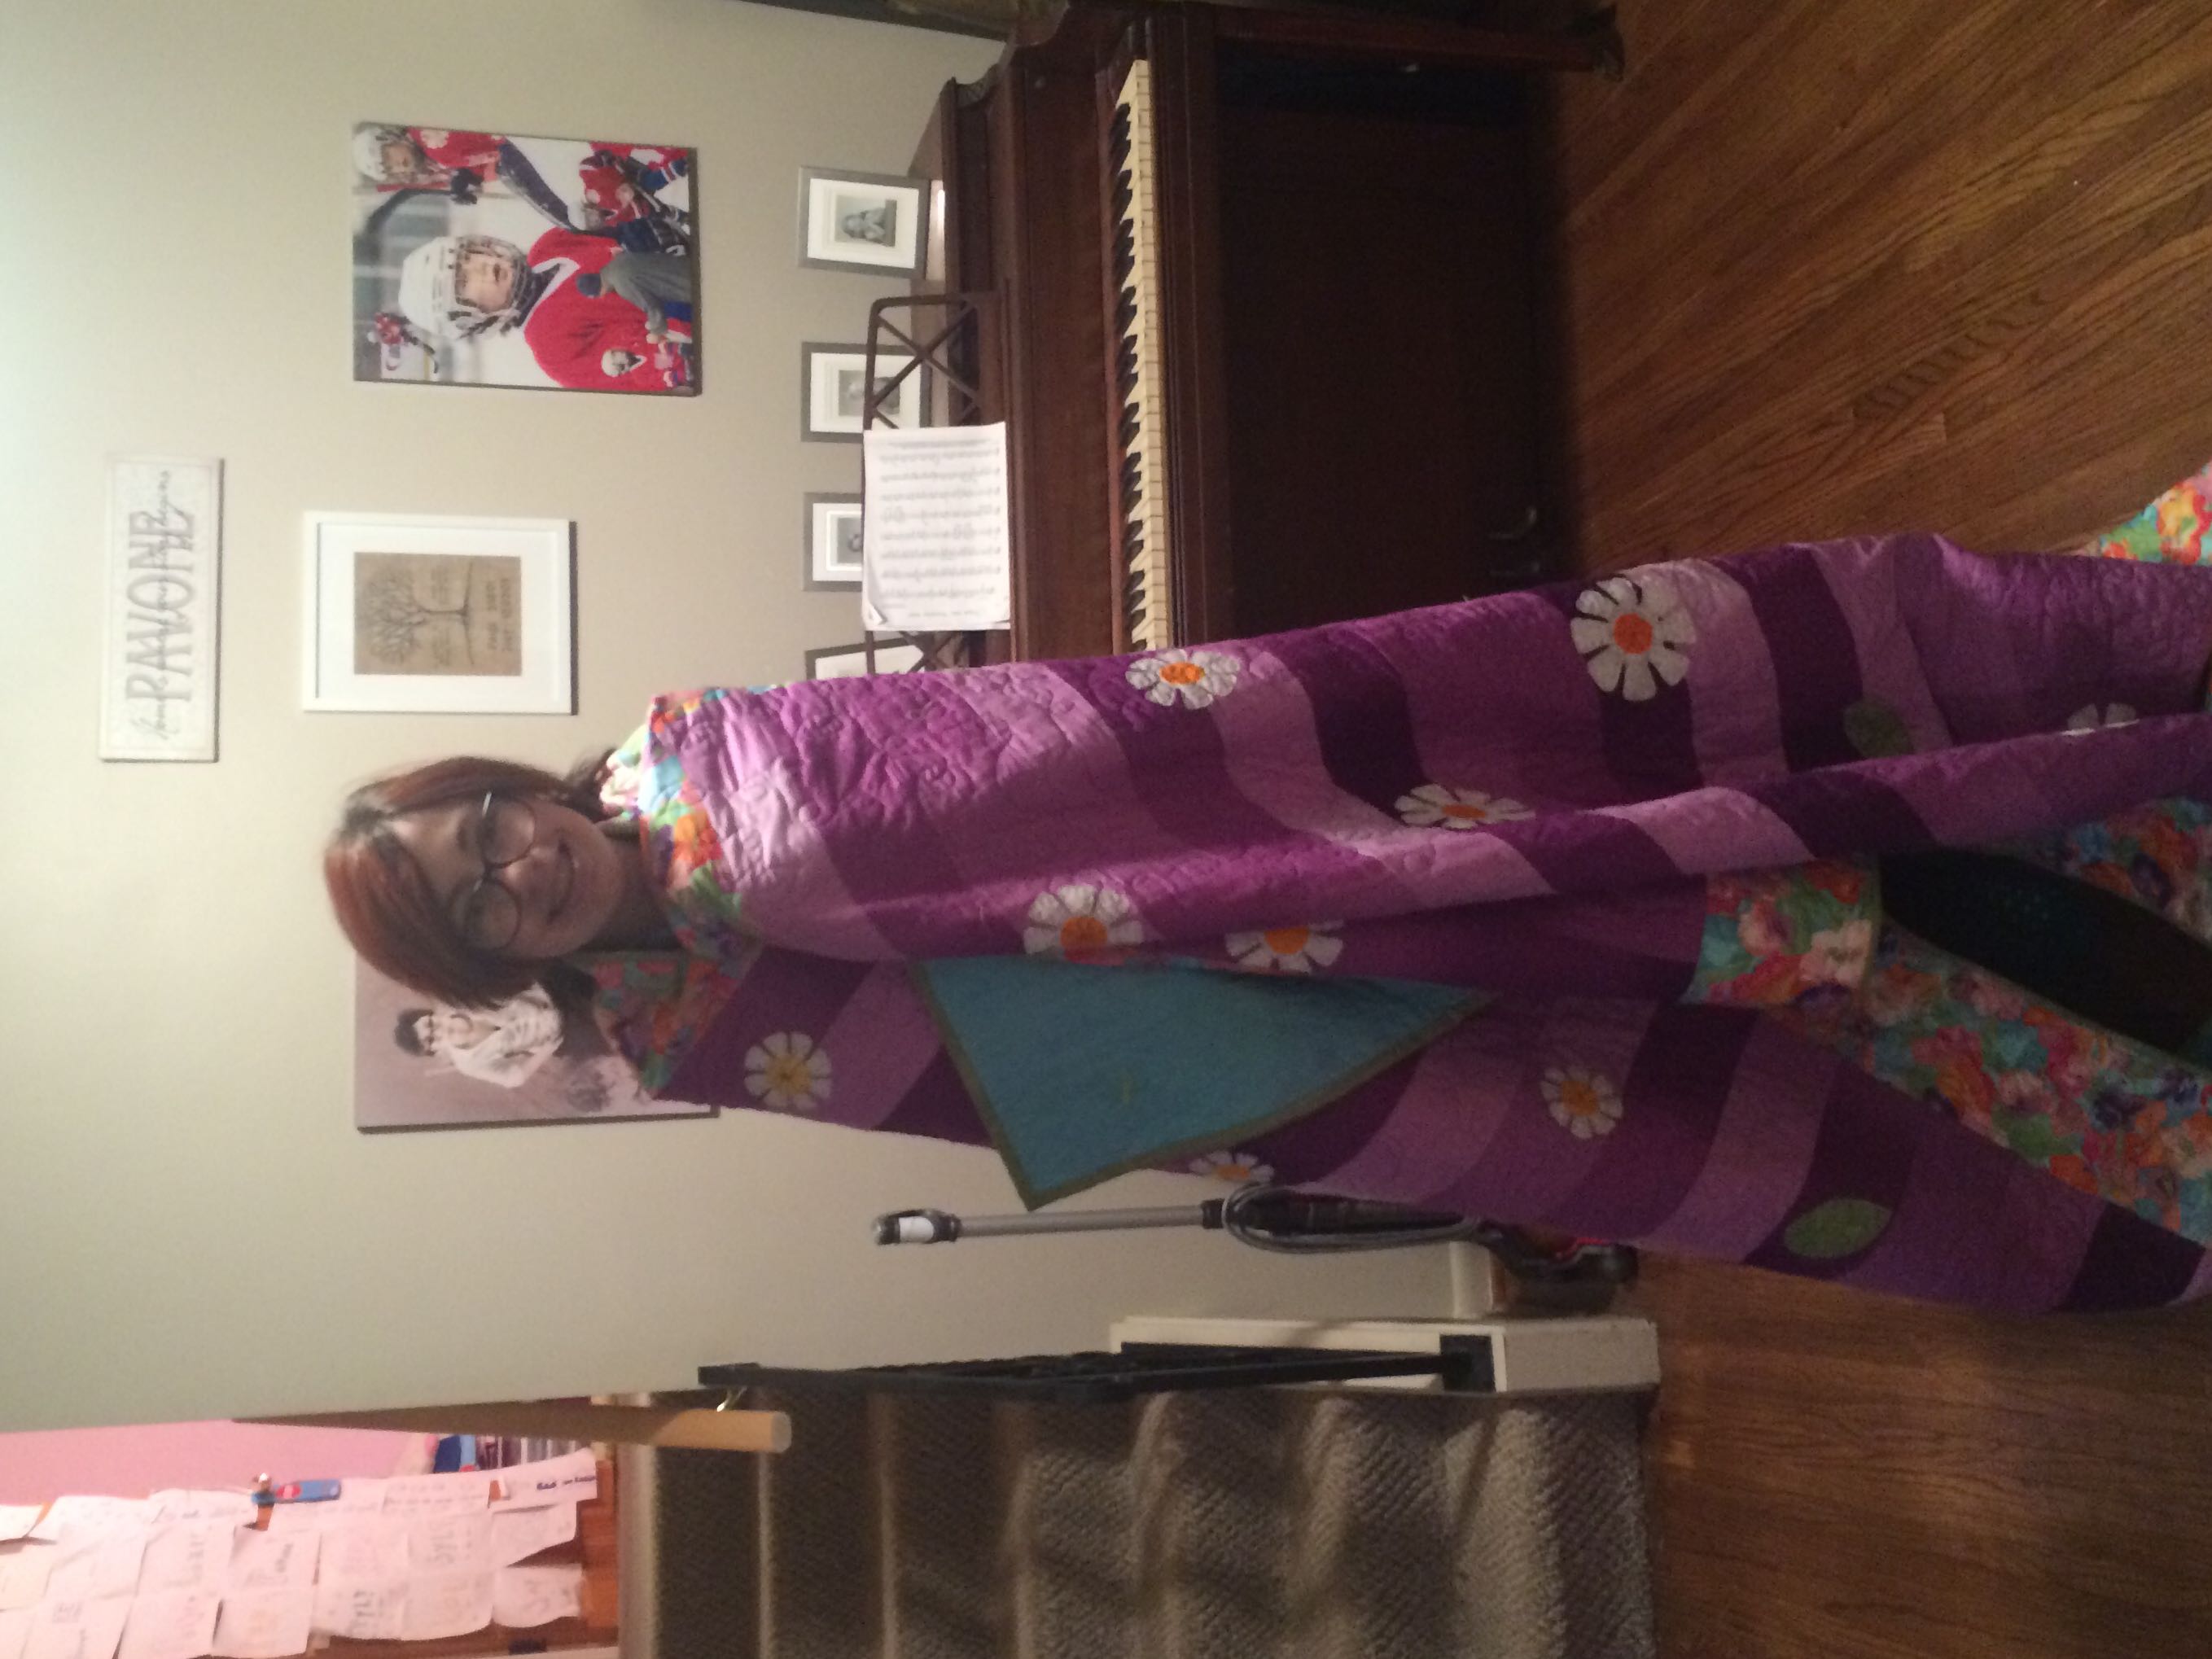
I had Paige's quilt all planned out in my mind and roughed out on paper and knew that I was going to use the Moda Marble Ombre in Purple for the background of her quilt. I also knew I wanted to do it like a strip quilt but using wider strips. I cut them 4.5" instead of 2.5". I ordered Me and My Sister's flower applique templates to use for the white daisies that I wanted to rain down the quilt.  My idea was clear in my mind, though the final quilt did not come out exactly as I had it pictured I do love it.  I originally thought to hand applique the flowers, but time constrains lead me to do raw edge applique instead.  I kind of like how it turned out as this is  the first times I have done raw edge applique on a quilt. I did do it once on a wall hanging.  I pulled the border fabric from my stash and used a teal grunge on the back which was a great pick as I found out that besides purple she likes teal.  I made the label on the back very special also, triple layering two daisies using the ombre fabric. I am very pleased with the quilt overall.

I have no idea why this picture is sideways. It is right side up in Flickr and in my phone, but it works.

Raining Daisies Label

Paige was very happy with her quilt and pillow cases and immediately put them on her bed.  I caught her later for pictures as I wanted one of her with her quilt.
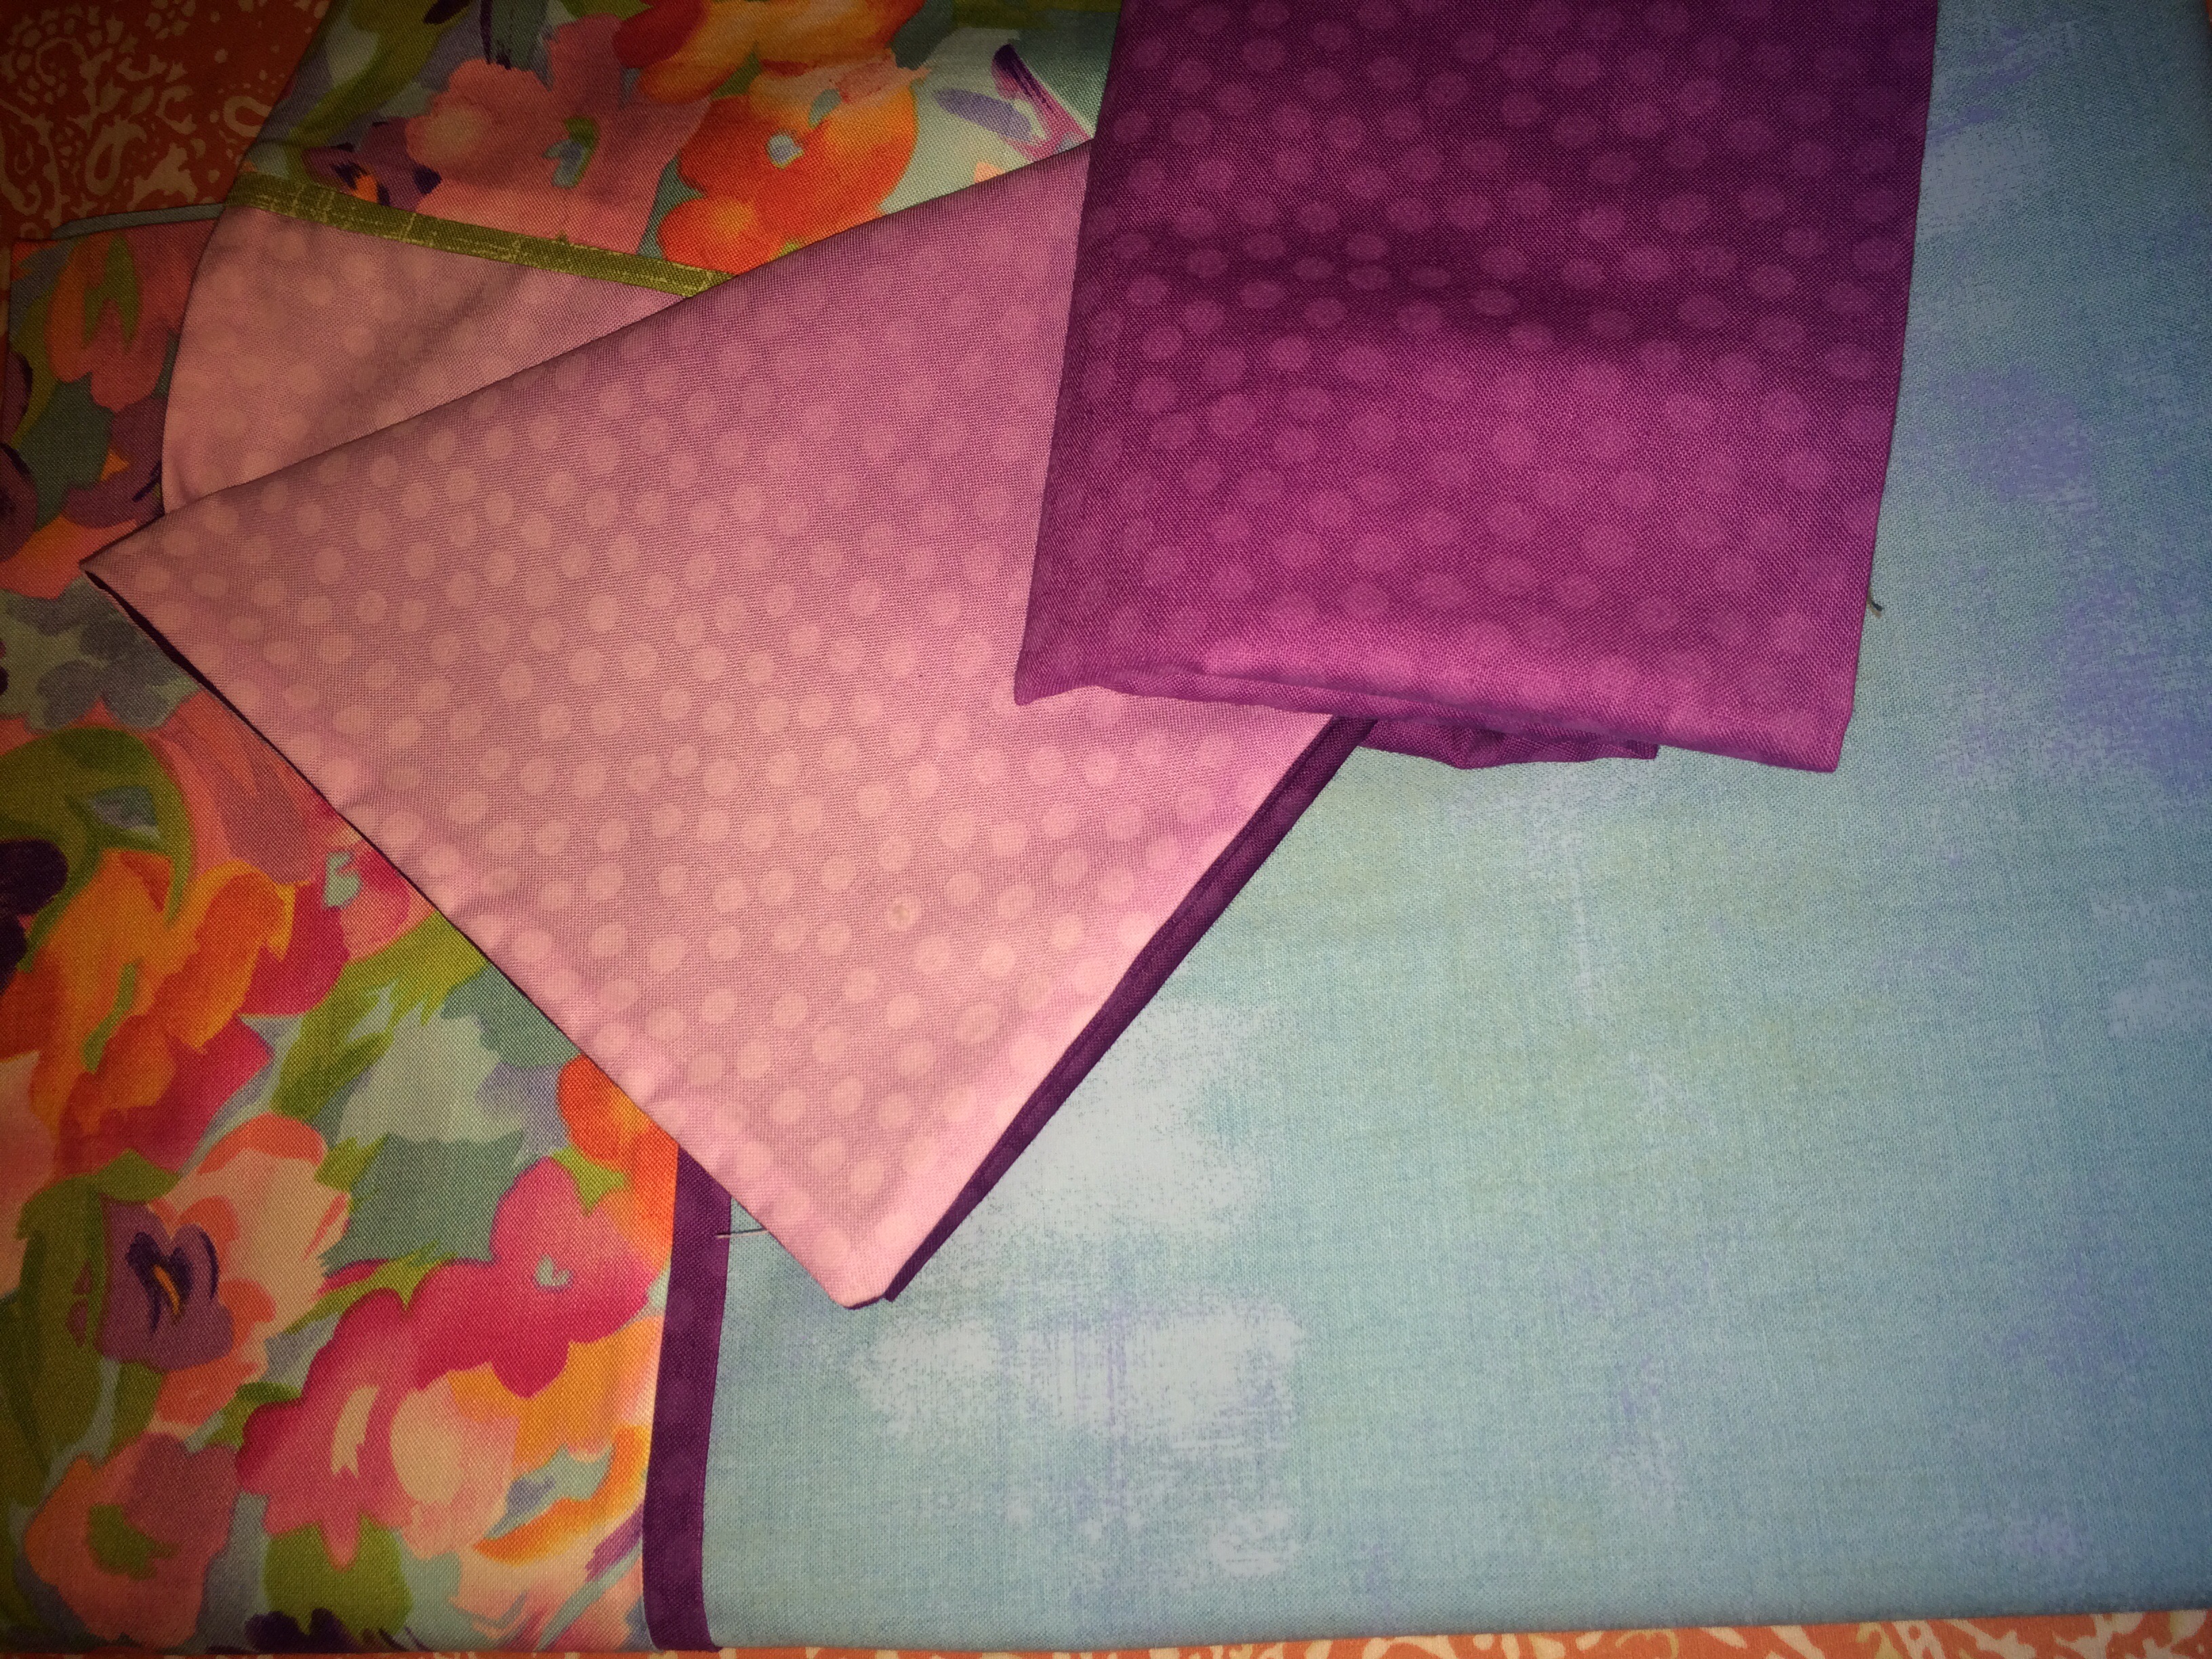


Sorry that this is on its side, for some reason the picture is coming in this way even though it is right side up in Flicker.
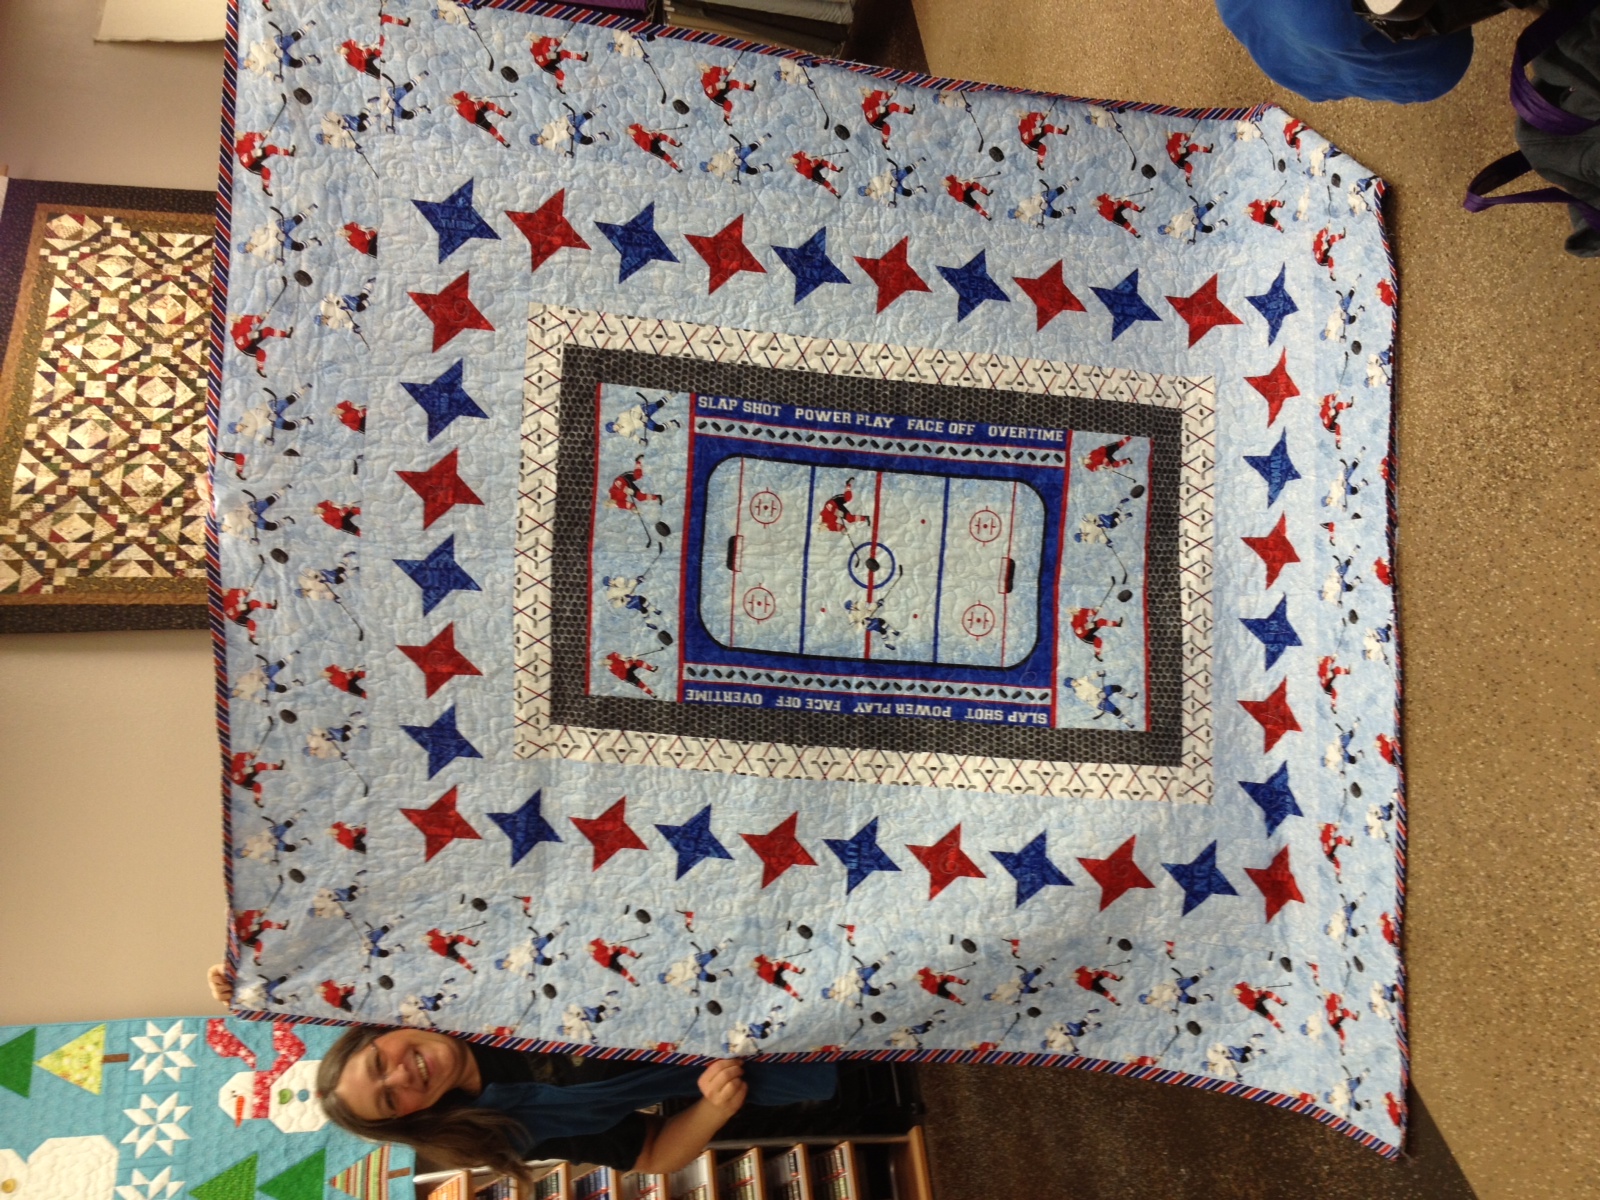
Joey's quilt was a fun one to make using the hockey panel as the center. I bought all the coordinating fabrics and knew I wanted to put the hockey pucks and sticks around the center, but was not sure what to do beyond that, so I emailed a picture to a friend and asked for her help. I questioned whether to use stars and if so what kind or a checker board. She has EQ and put it in her design software and emailed me back several options that would work. I liked the friendship stars best, and the quilt was ready for me to figure out yardage and start cutting after a trip back to the fabric store to pick up a little more fabric.

I used a panel for each of his pillow cases. and the mail print  with the hockey players for the backing. 


I decided that "Hockey Star" was the perfect name for the quilt for two reasons, one because I used stars in the pattern and two because my nephew is a shining star.  I started by adding the two inner borders to the panel and then calculating the number of stars needed to encircle the center.  I used 2.5" strips for the stars and alternated colors between blue and red, which worked out perfectly for me. I bordered it with the hockey player fabric and used the red, white, blue, and black fabric cut on the bias for the binding.
Again I have no idea why this picture is sideways.

I used the extra stars I had made for his label.
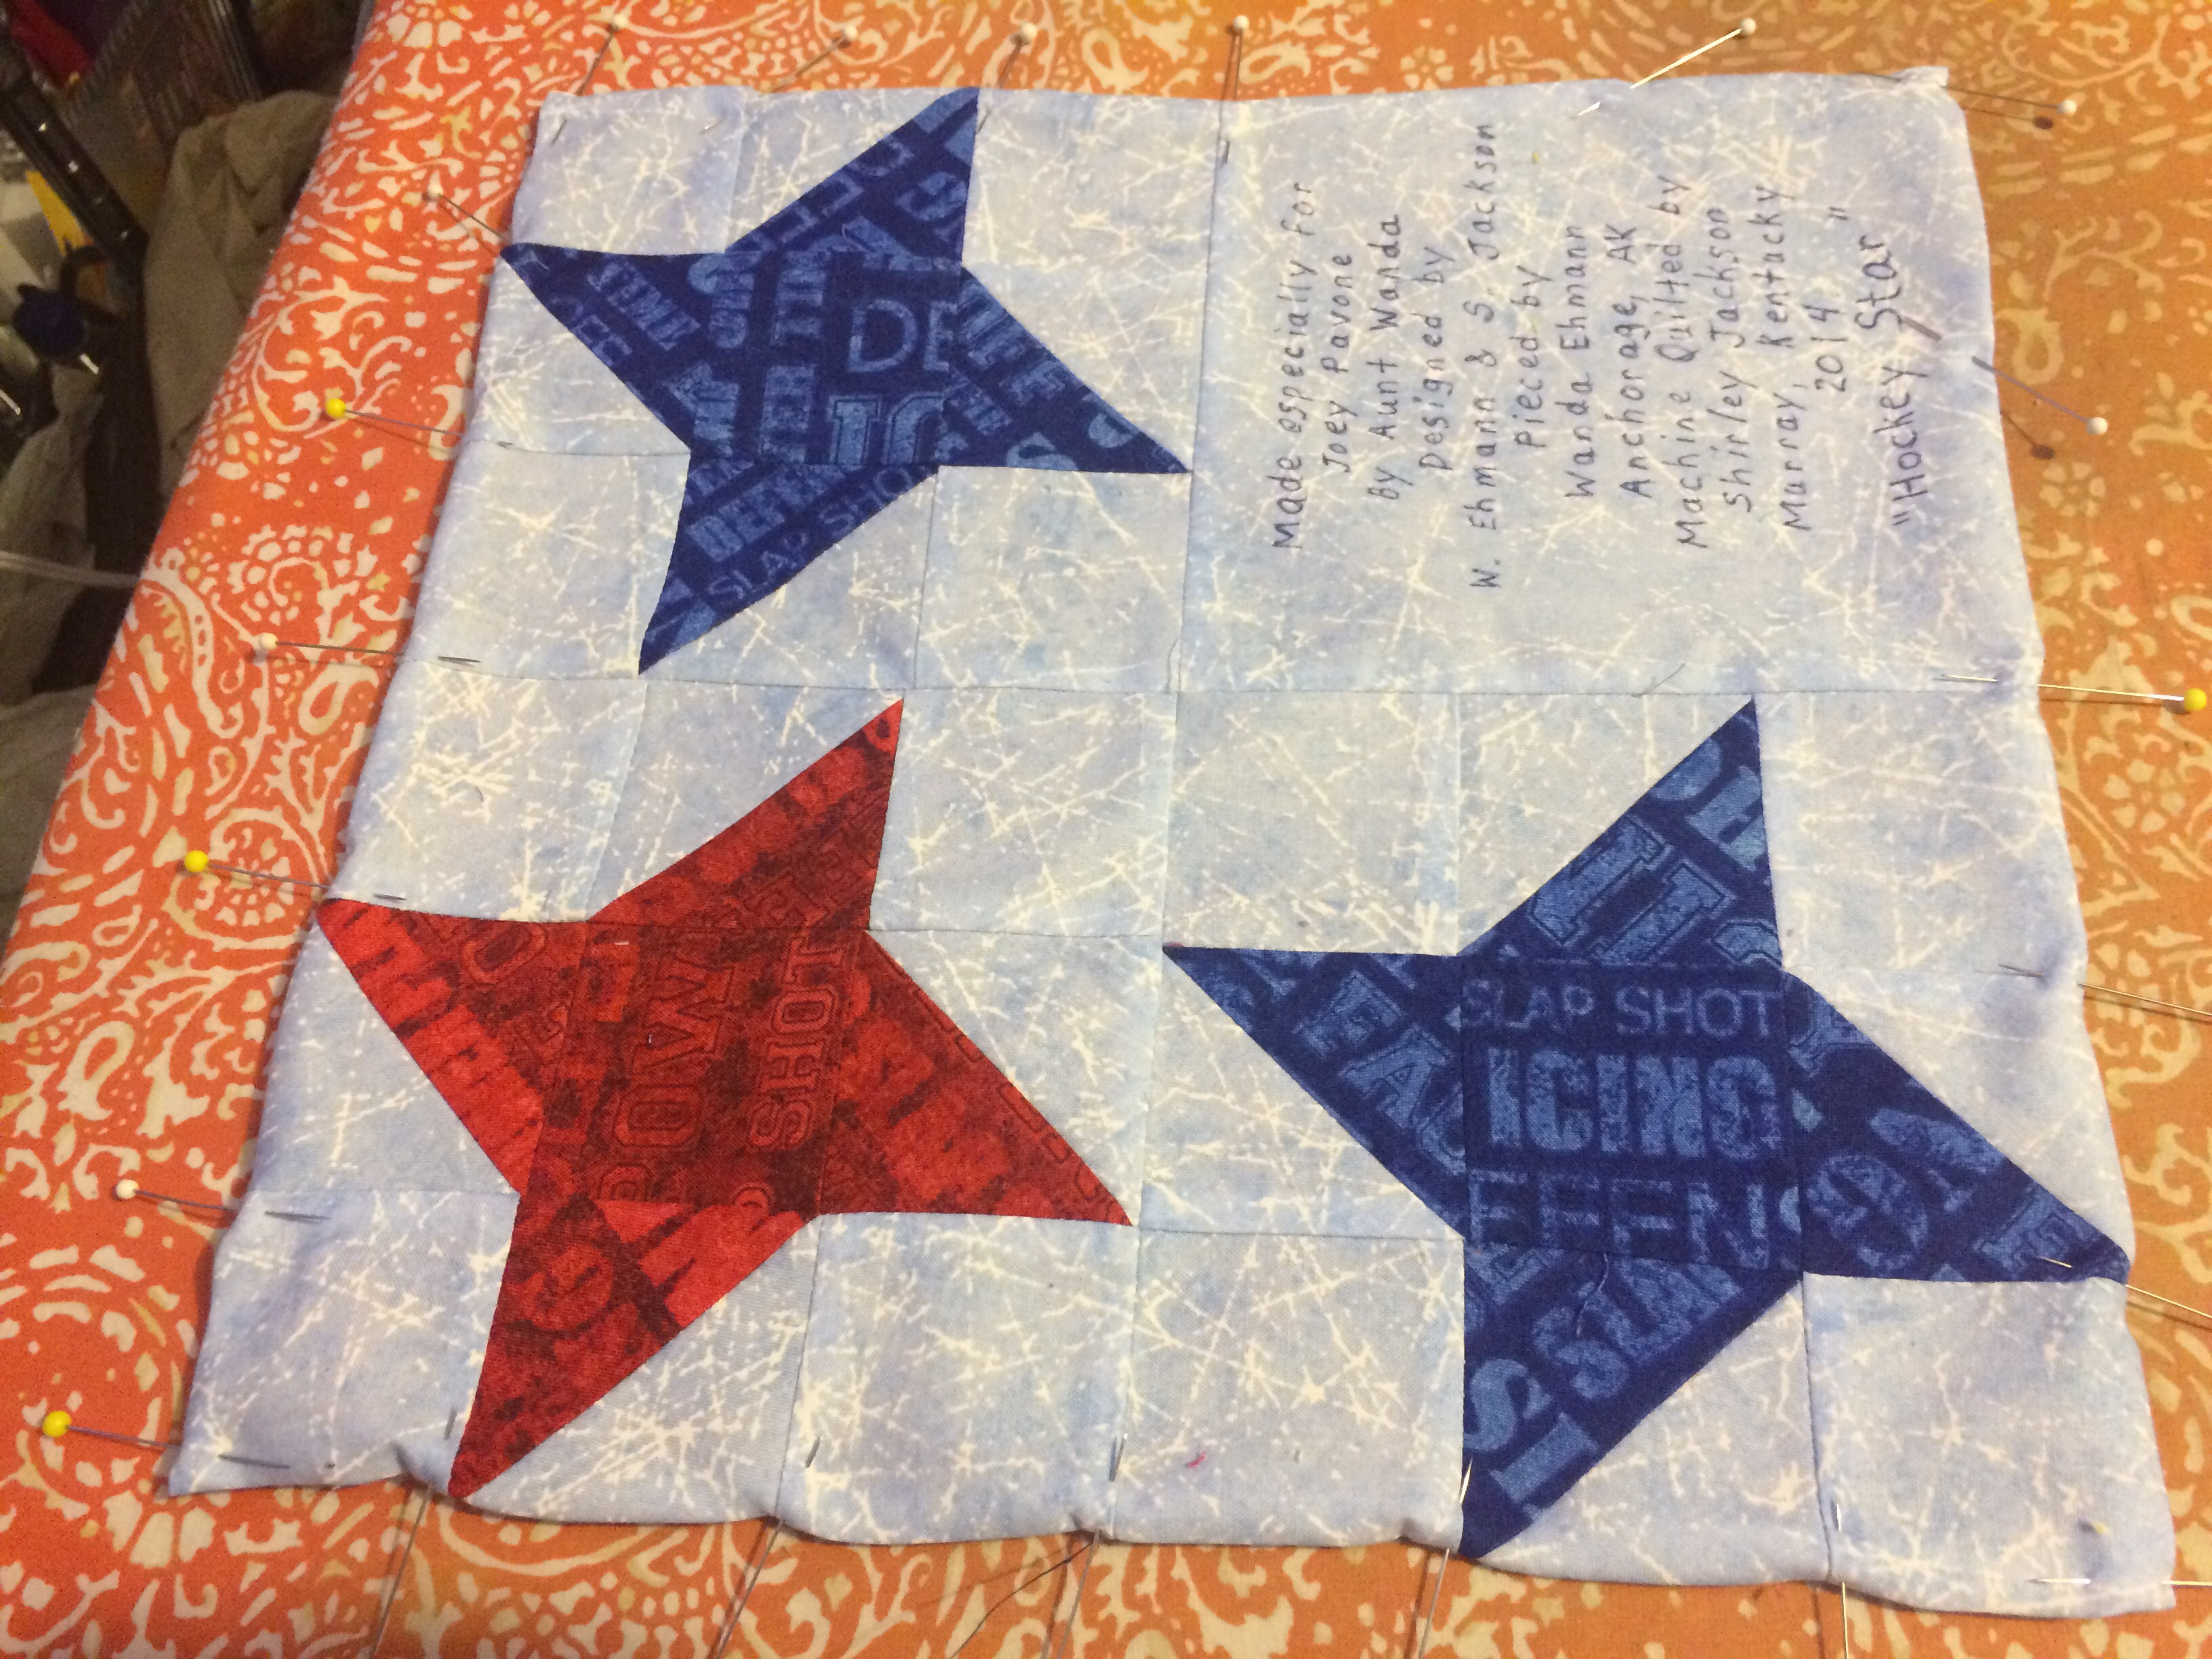

Joey was patient as I did not finish hand stitching the binding and label down until Thanksgiving day, but as soon as he got his quilt he wrapped up in it and went to sleep. 


I am very happy that they both liked their quilts and that I was able to give them some love after all they have both been through this year.

Wednesday, September 10, 2014

Alaska State Fair Quilts


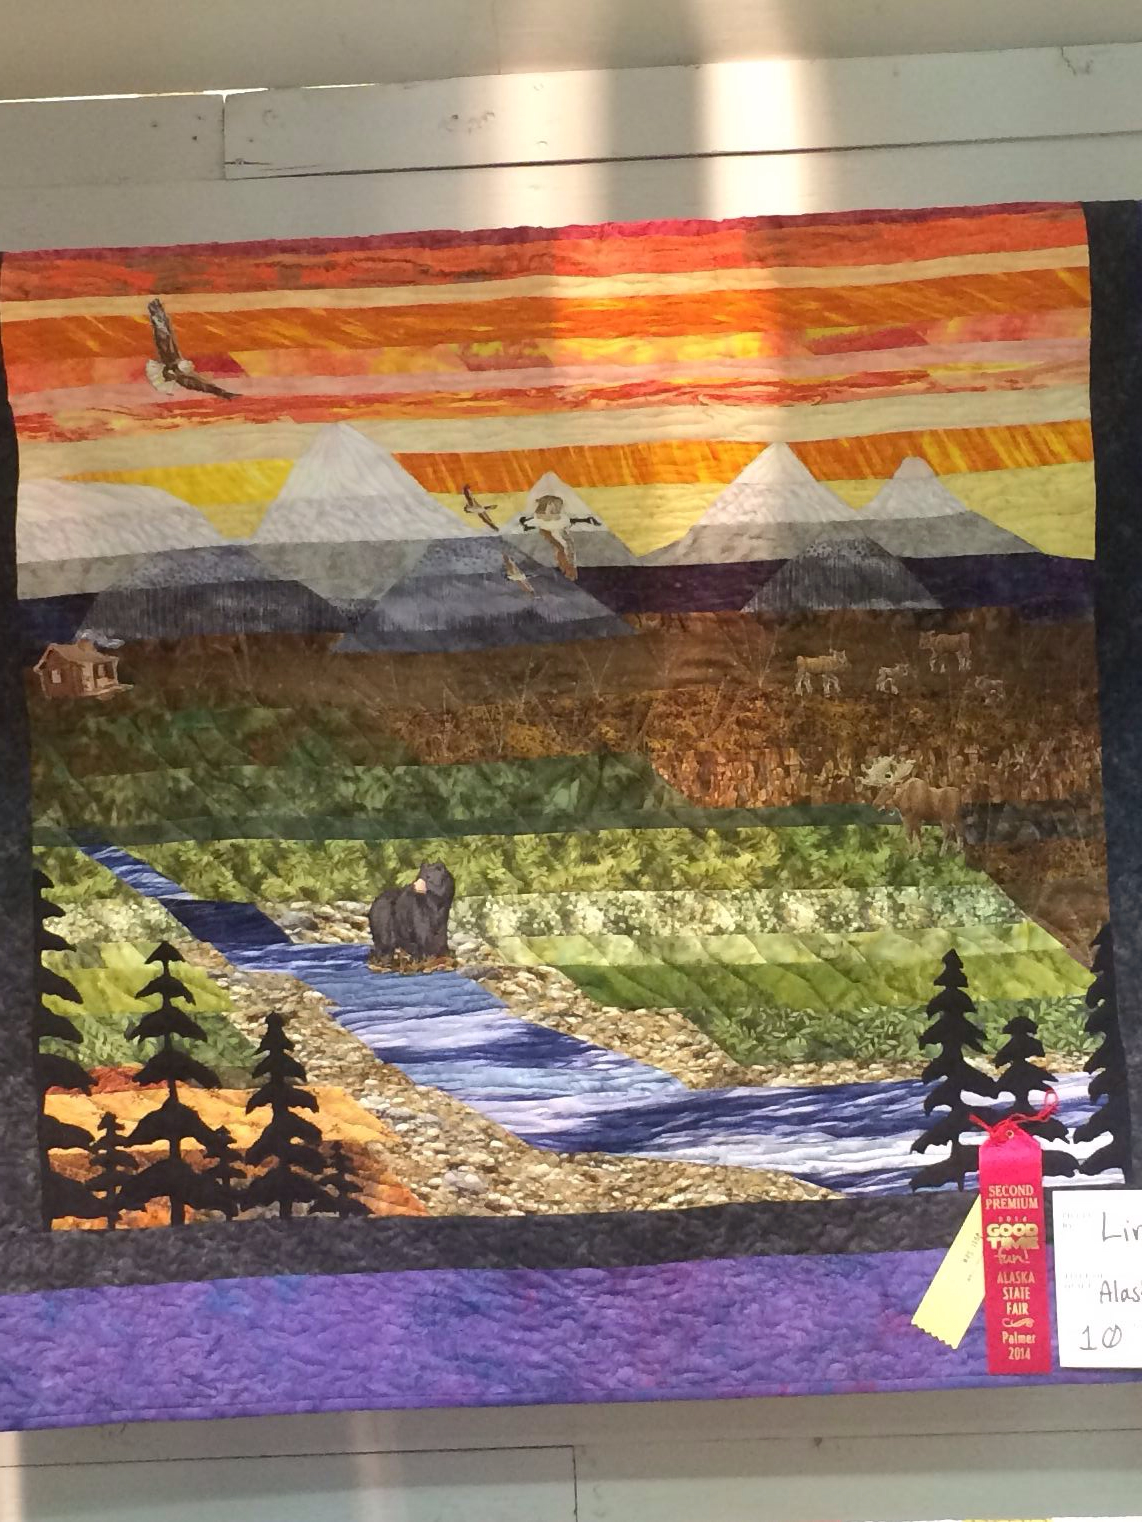
We went to the state fair and I really enjoyed the quilts that were on display and had to take pictures and share them here on my blog. It was hard to choose just a few, so I hope that you enjoy the ones I have included.

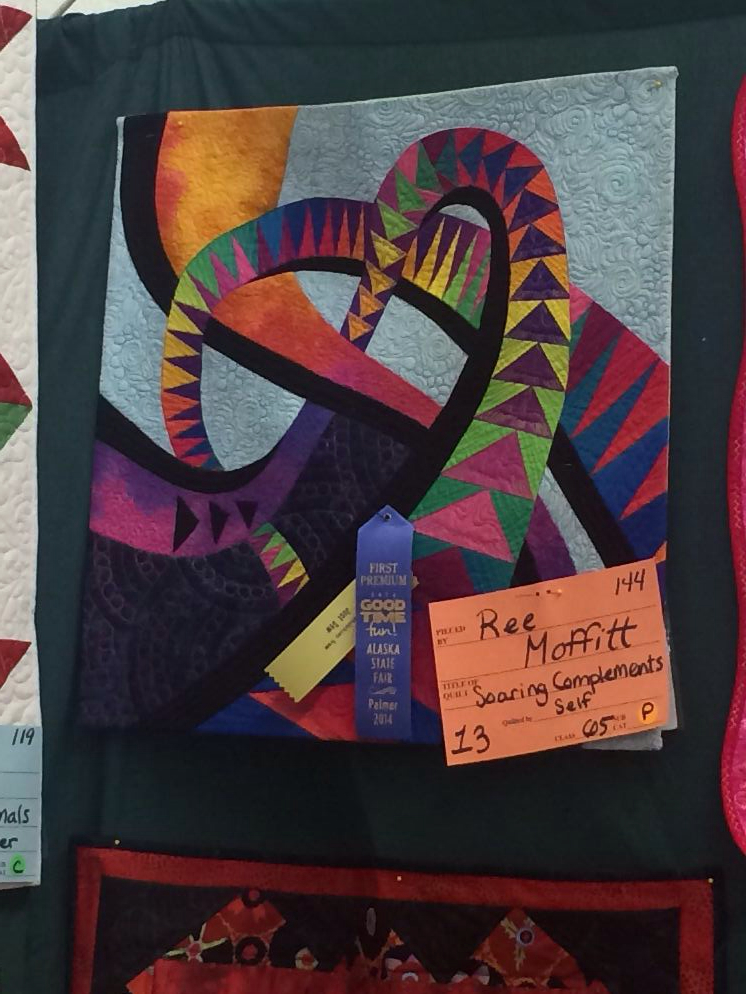
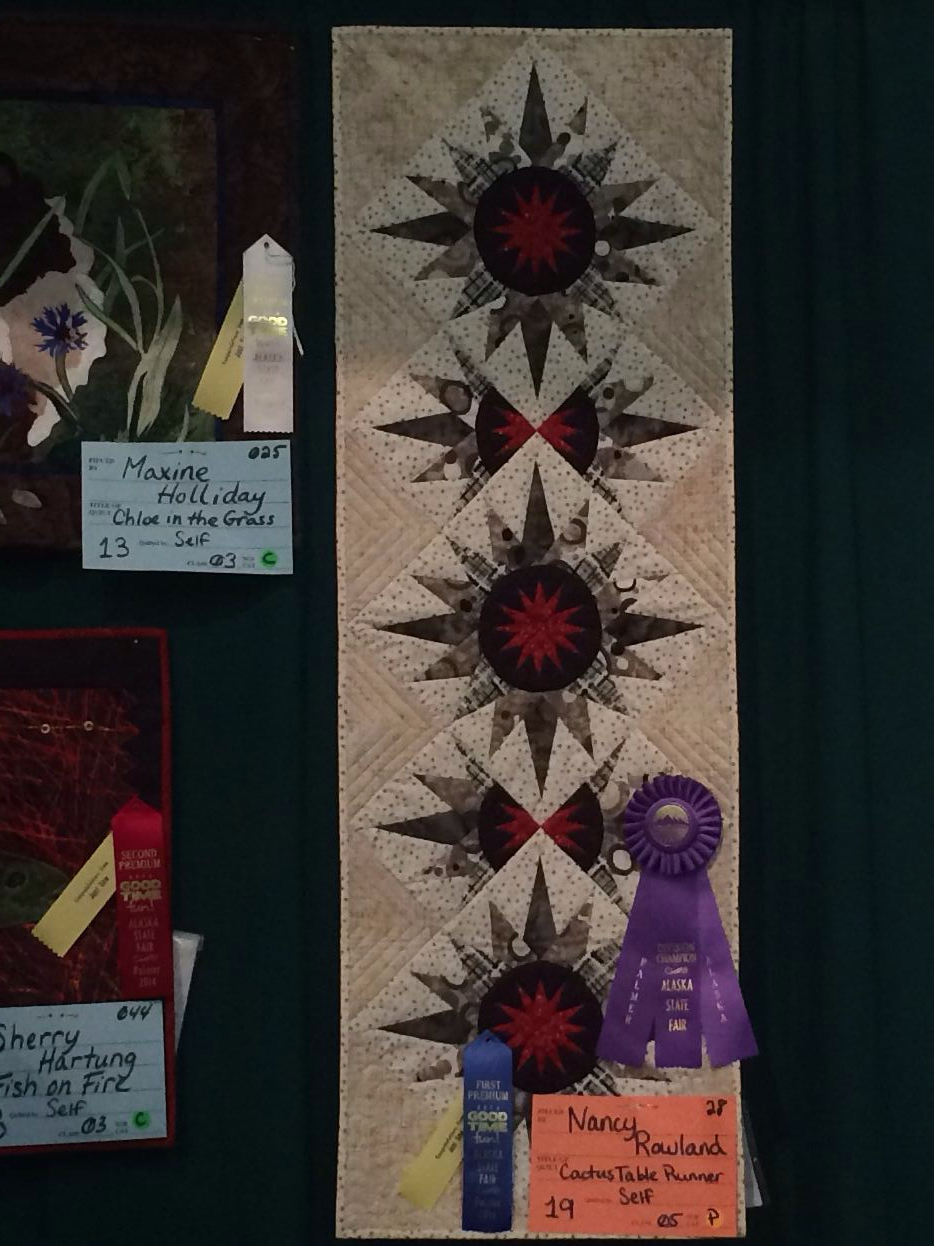
                                                                   This one is very Alaskan.


I have included pictures of the quilts that caught my eye because of the colors, the pattern, the quilting, or a combination of the a fore mentioned items.
I have never had the "guts," so to speak, to enter a quilt in the state fair, but I love going to look at those that are entered.

I love the floating pinwheels in this quilt

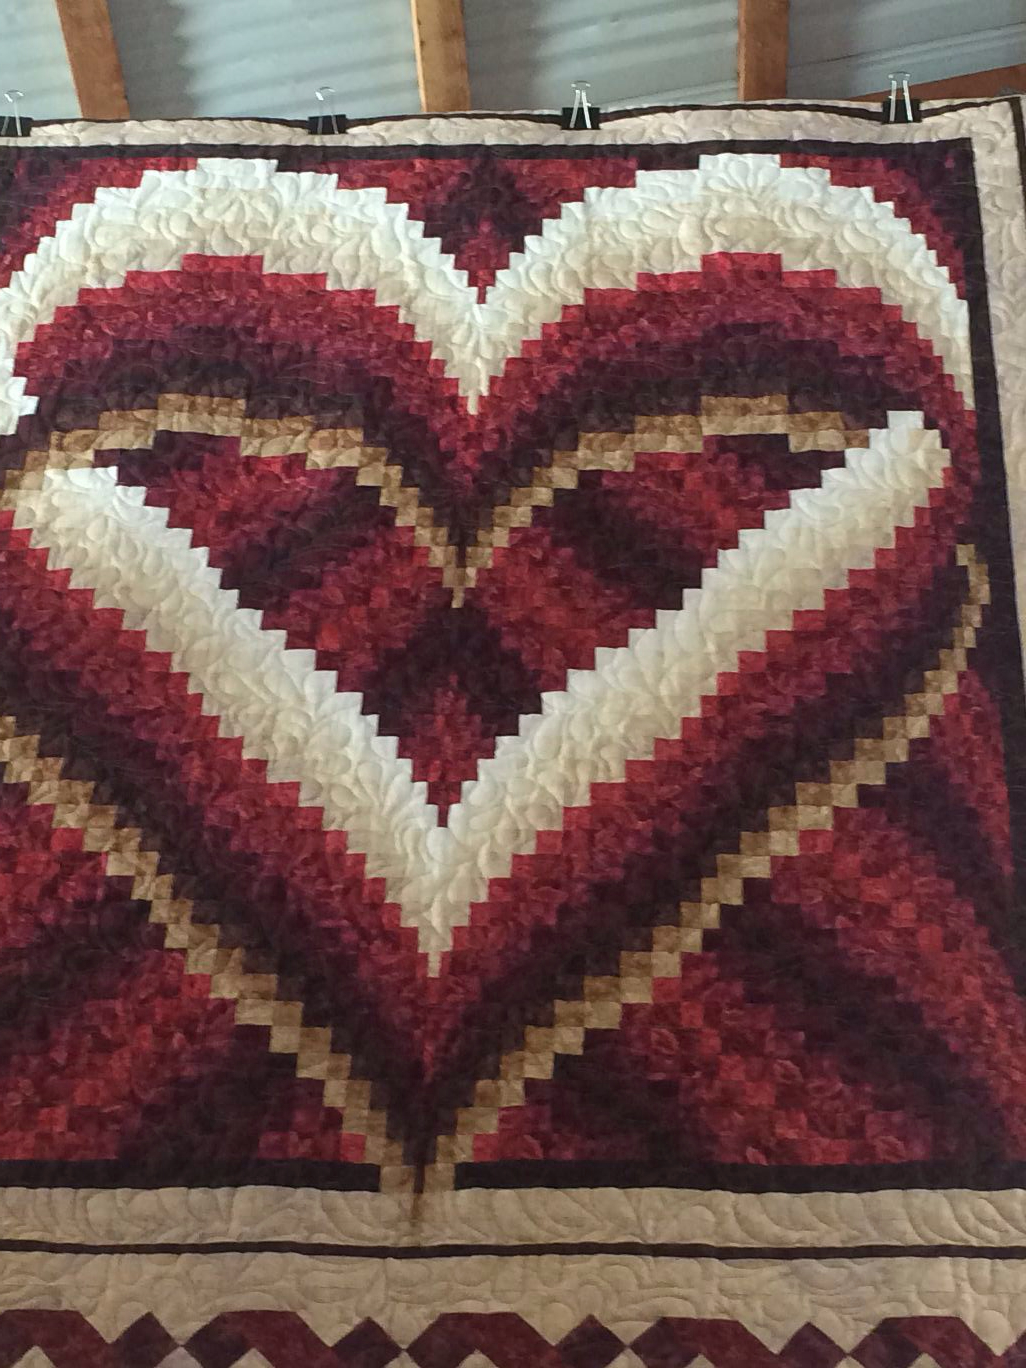
This quilt makes me think of chocolate covered cherries.

I really like this quilt and want to find the pattern and do one one for me.
love the colors in this quilt.
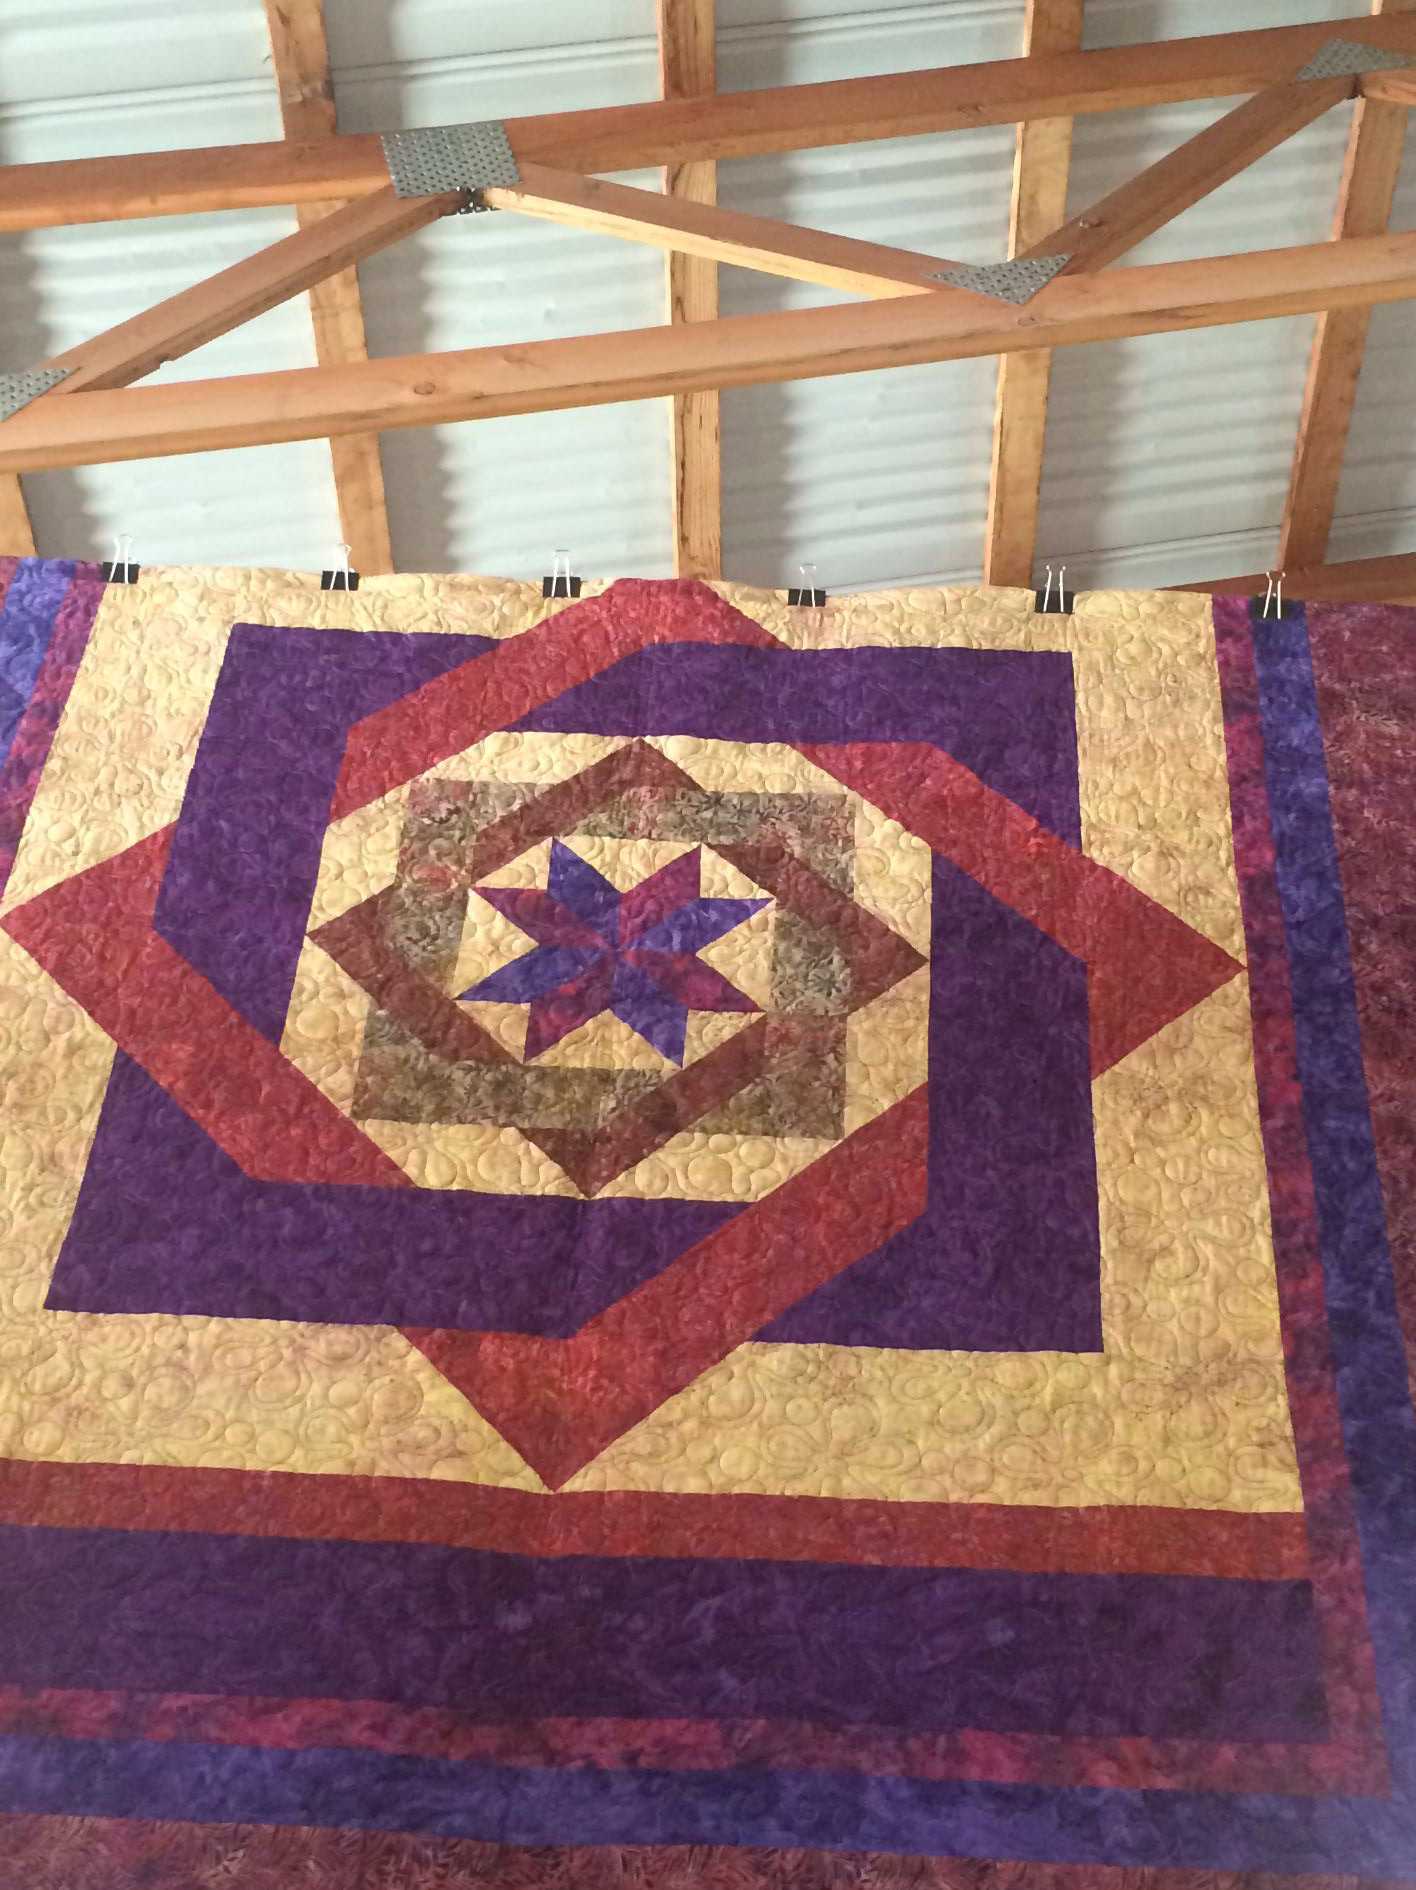
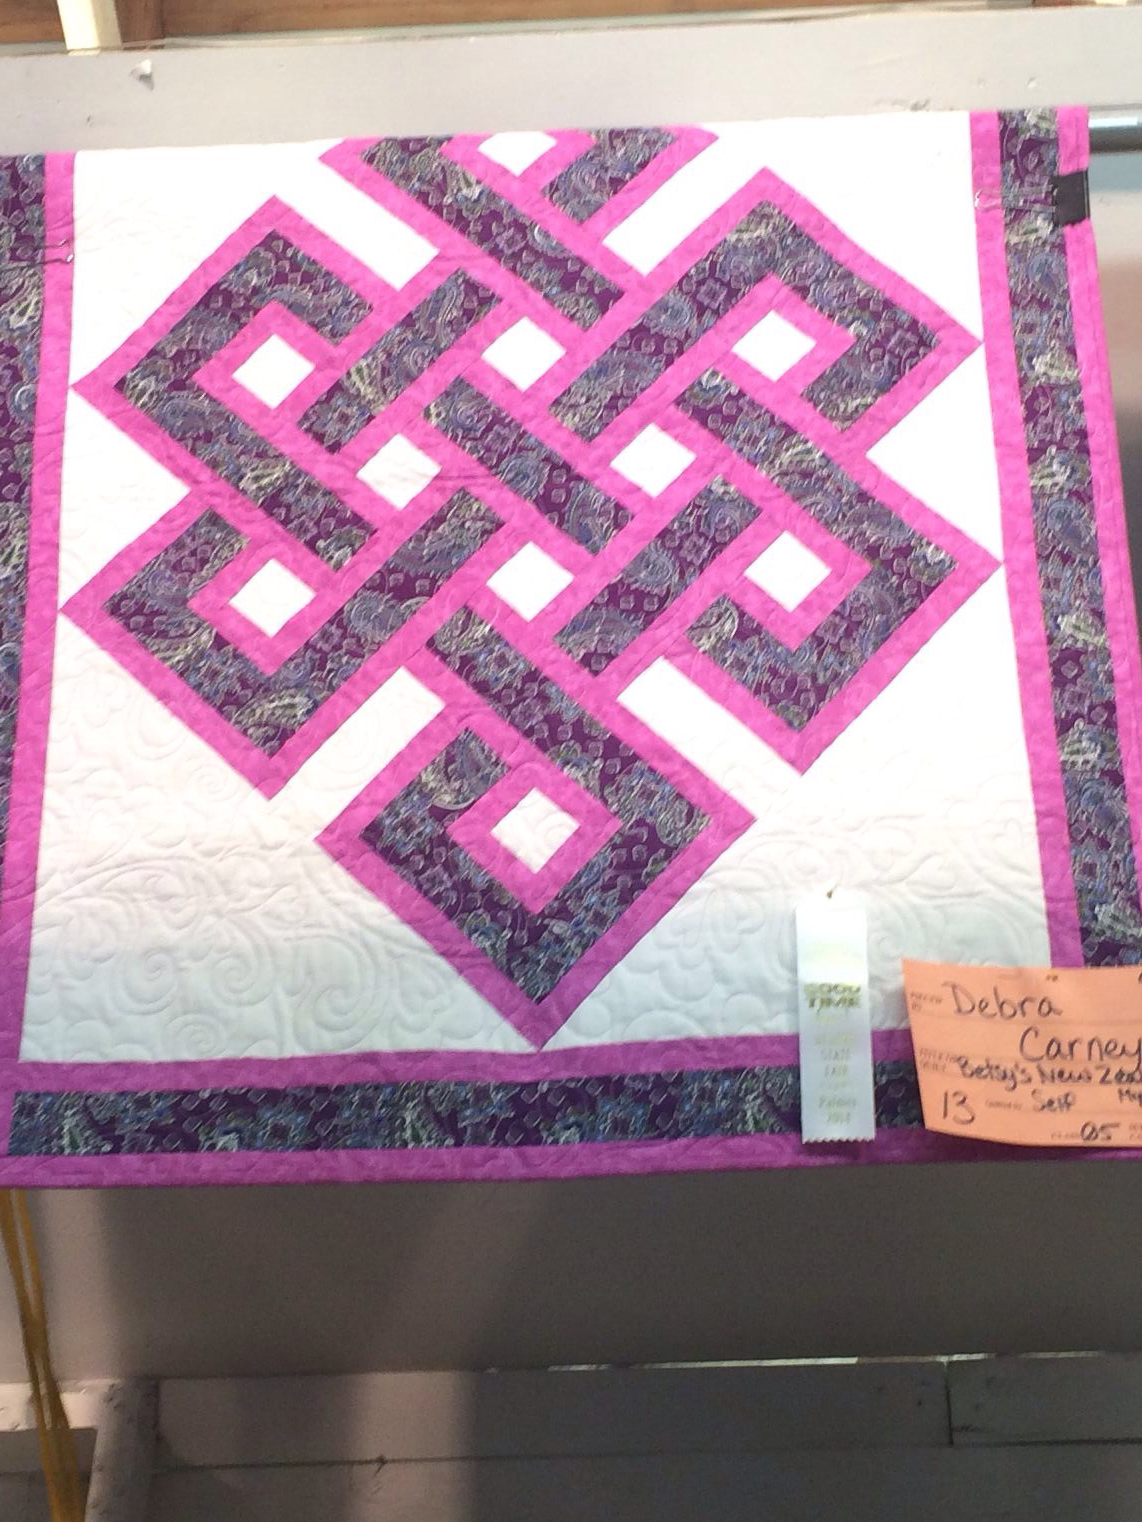
I really like this Celtic Knot.
Love the colors in this quilt.
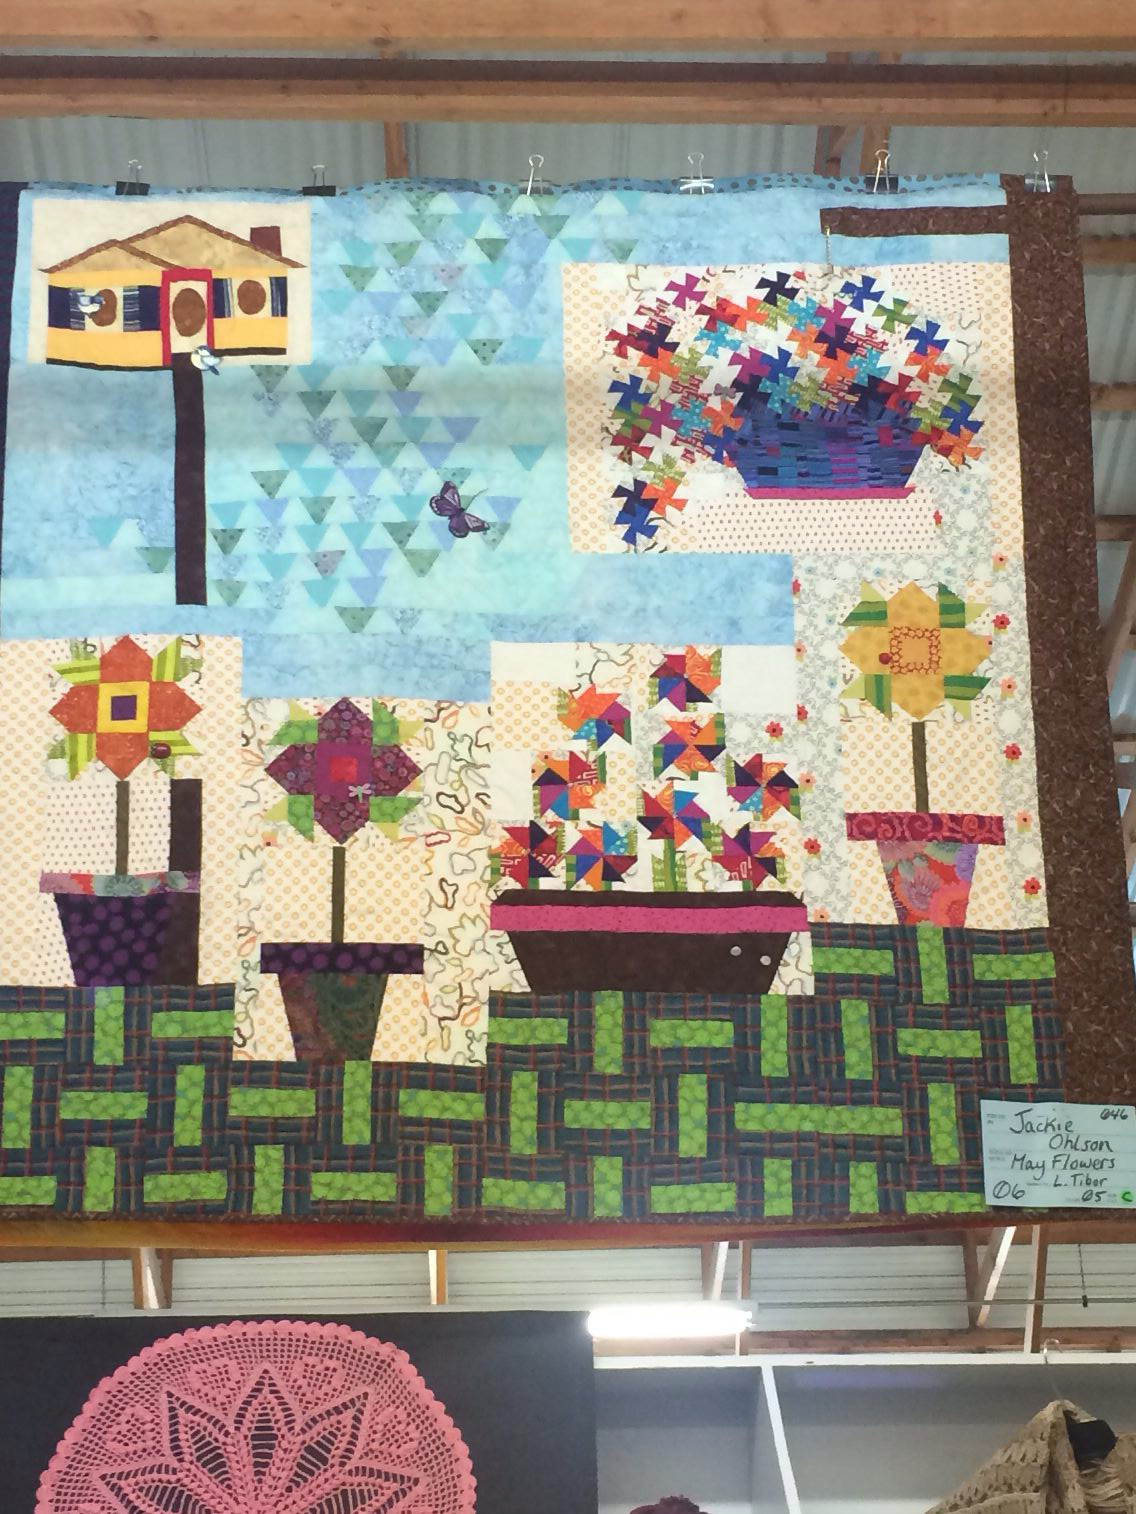
I took this mystery and did the  basket of flowers in the upper right hand corner of this quilt. I am planning to make mine into a small wall hanging.  I may do other parts and make them into wall hangings also.
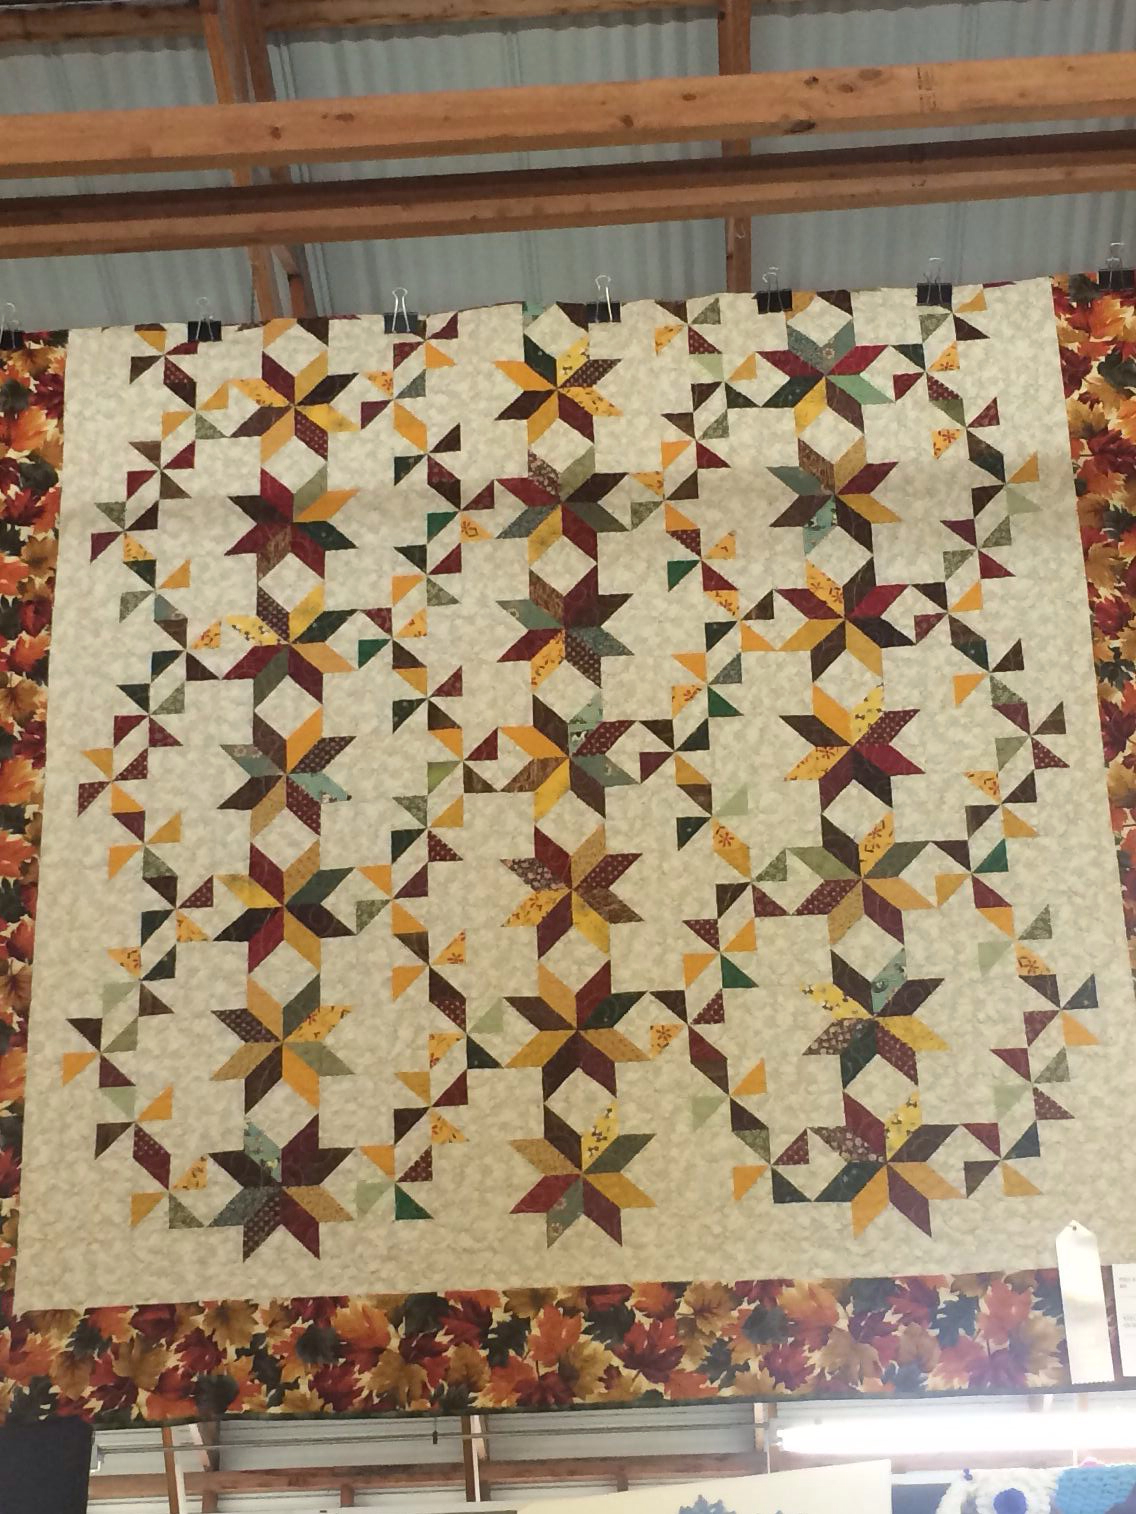
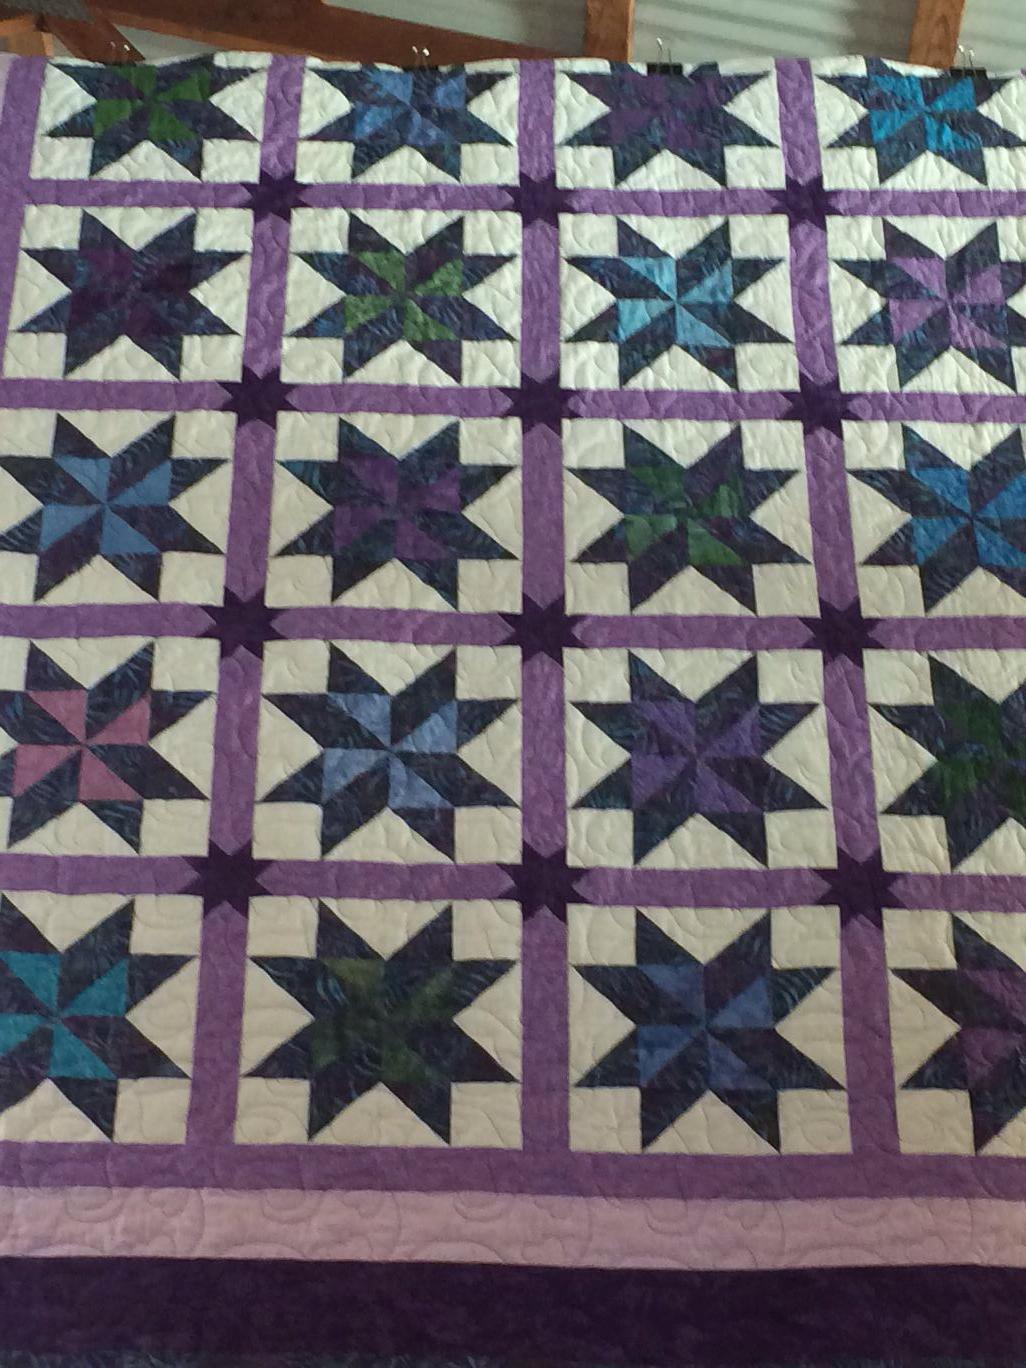
I love all these stars.
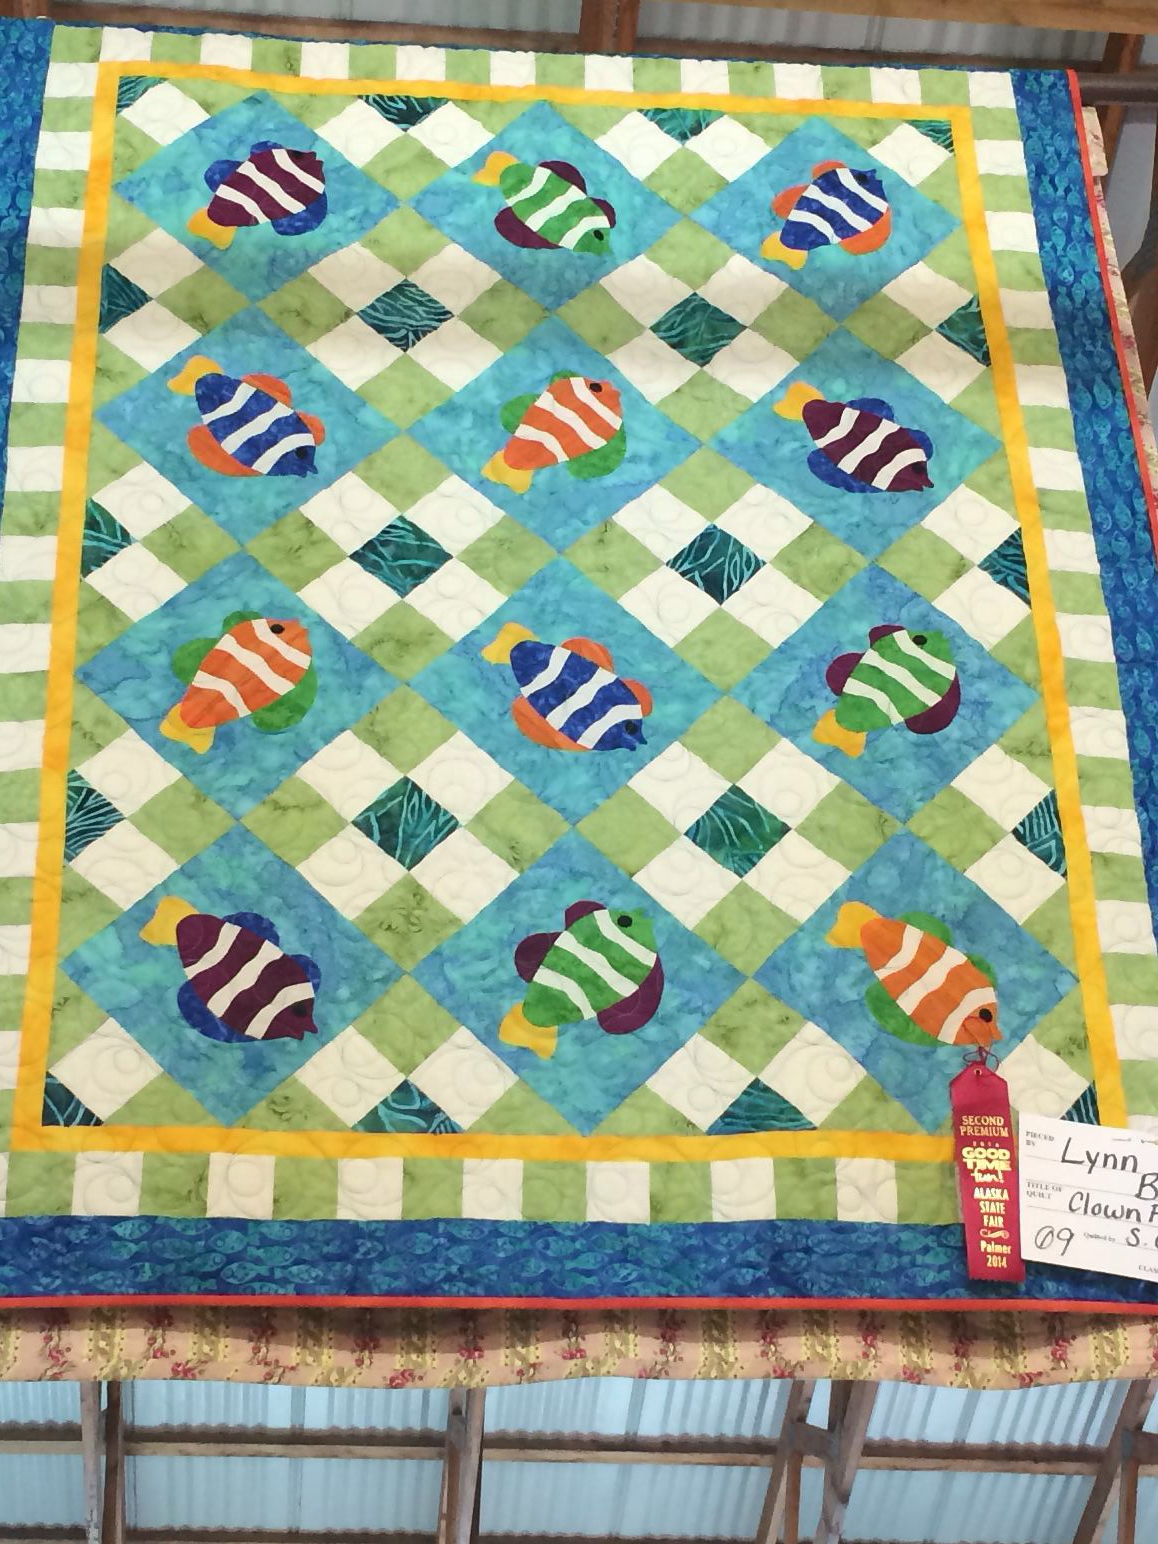
The fish on this one caught my eye.
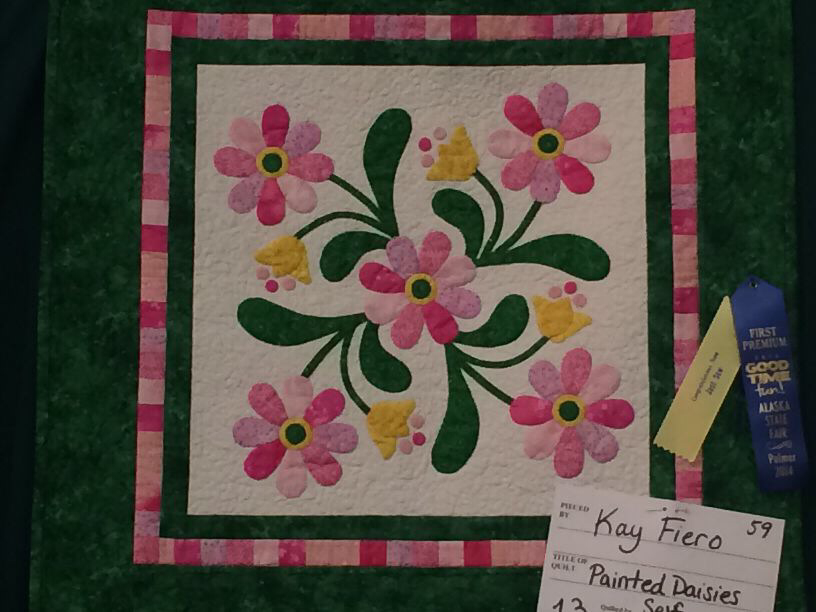
These painted daisies were so colorful. They just seem to dance around.


I may do a second post with more of the quilts I liked.


Sunday, July 20, 2014

Leftover Binding

Pat Sloan had a great post, Did you ever...a Binding Saga, on he extra binding you have at the end of binding a quilt and what you do with it. Of course there were the usual comments related to using it on small projects or making scrappy bindings for scrap quilts.  Other answers included stuffing it in a drawer, or a baggie, and rolling it on on water bottles, or repressing it to use in scrap quilts.  Two unique answers included making a rug and using it around the edges of pies to keep them from burning and to help hold in the juices. Now that is what I call getting creative with the extra binding. I will have to store that idea away fro the next time I make a pie.

One person said they roll the extra binding up up and store it in a drawer, which is what I use to do until I hit upon a great idea. I do not remember where this idea came from. I could have read it somewhere, in a magazine, on another blog, who knows. It might be something I dreamed up, but I have started using my extra binding in a new way that helps me to prolong the life of items I use everyday.

We all have towels and those towels often get worn along the edges and start to fray, while the main body of the towel itself is still in very good condition and usable. I decided there had to be a way to extended the life of the towel and then saw my drawer of left over bindings and that is when the idea jumped out and grabbed my attention.


Now, as I said before I could have seen this idea somewhere else and just do not remember because I filled it in the back of my brain for future reference. After all I taught middle school and high school, primarily, for almost 30 years and raised two boys, and have read a ton of books and magazines over the years so who knows where the idea came from.

I try to match the binding color to the towel color when I can or at least make sure that they complement each other, as I really do not want them to clash and look ugly. I am of the school of white towels are a pain to keep clean , so all of my towels are colored.  In fact color coordinating towels is one way I kept my boys from fighting over whose towel was whose when they were younger. If you have white towels then you  don't have to worry about the binding clashing with the towel.

So far I have just done bath towels, and I do have a few that I need to totally replace and am thinking that I may just binding the new ones to start off with so they don't ever start to fray. I like the look of my towels and it adds a little more decoration to them. Since I have a ton of left over binding I am thinking I will attack the hand towels next and maybe move on to the kitchen after that.

I have also thought of binding some new towels for each of the boys as part of their Christmas gift this year, after all we can always use more towels.  I know I have some extra red and blue binding that I can use up on their towels.

Just in case you are wondering, yes I do still color coordinate their gifts in their favorite colors when I buy things that are the same. It's a mom thing.

Sunday, May 25, 2014

Strip Club Quilt

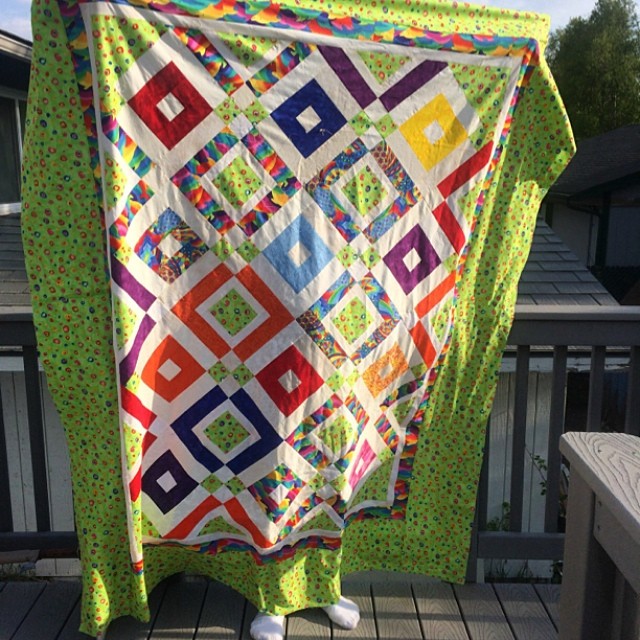
I attended the first strip club at a LQS and came home and thought I have all these strips I have been sorting out by size I should see what I have and I had more than enough that went together to make a throw size of the quilt. I spent one night cutting them all to size and then started piecing away.  The quilt pattern is called         by Cozy Quilts and is really a very simple one to sew.  I did have a couple of false starts because I forgot to measure my strips and picked up the wrong ones to start sewing 2.5" squares to the end so had to a little frogging, but over all the quilt top went together easily.

I picked the two print fabrics because the colors were similar and then dug through the scraps to find strips that went with them.   I dug through my light scraps to pick the background strips and made it scrappy. All the 1.5" strips are left from a previous quilt that I cut way more than I needed as it was scrappy.  I did pull out the accent fabric from my stash and cut the squares for it, but everything else came from the scrap pile, except the border.  My husband picked the accent fabric from an assortment I gave him to choose from because he liked that it had colors in it that went with the colors I had picked for the strips.


I know some people will not call this a scrap quilt because it is not scrappy enough, but I consider it a scrap quilt because all the pieces came from my scraps. The borders and accent fabric are left overs from backing another quilt so they were in my scrap bag to be cut down to usable pieces.

I've had fun looking at the quilt and remembering other quilts and bags I have made using the same fabrics.

Friday, May 23, 2014

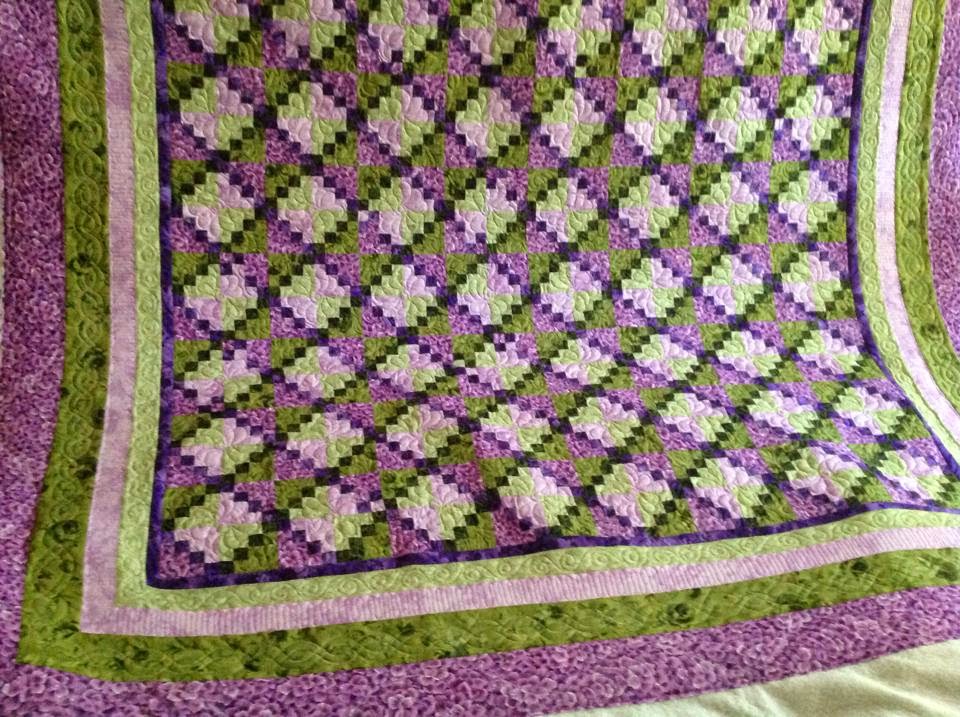
Troublesome Purple and Green Mystery Quilt

This quilt was a New Year's Mystery quilt designed by a local quilt teacher and it was full of trouble. To begin with she gave us the wrong cutting directions so some parts had to be recut.

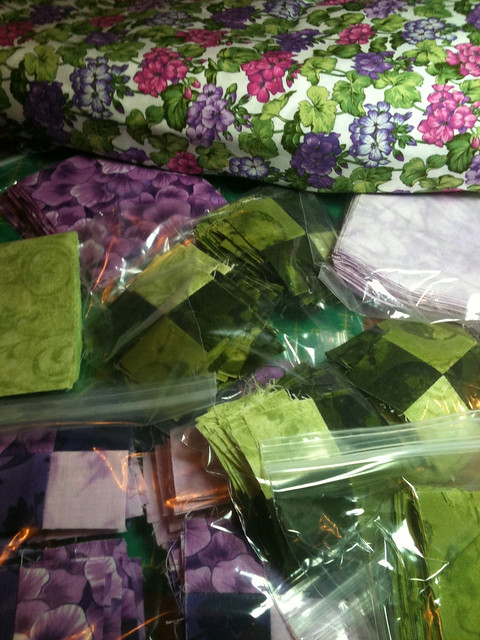
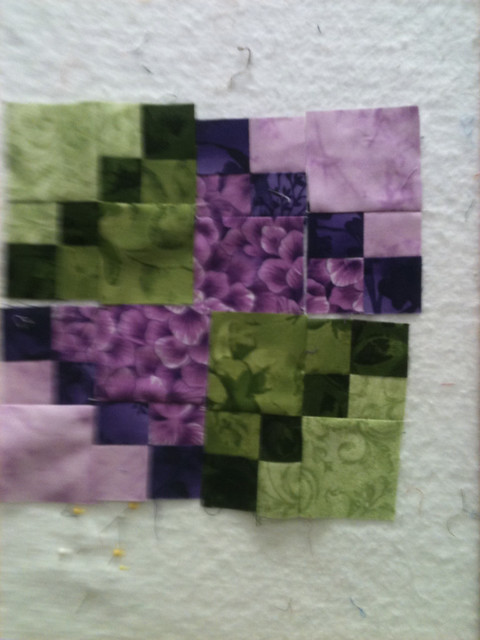
If you could measure this you would see that the four patches are 1" finished and the other squares are 2" finished. When given the directions we were told to cut 1.5" strips and 4.5" squares and to use the 1/5" strips to make four patches like 40 0f each color way.  

When we got to class and she discovered the mistake she told us to re do the four patches using 2.5" strips.  Now for some people this was a huge problem as they did not have more fabric than what she originally told us to use, so they did not have enough. Her solution was to tell us to cut down the 4.5" squares into 2.5" squares. I had extra fabric as I bought enough to make the quilt queen sized, just in case I really like it, but after all the time it took to make the four patches I decided to just cut 2.5" squares and call it good rather than redo the four patches.

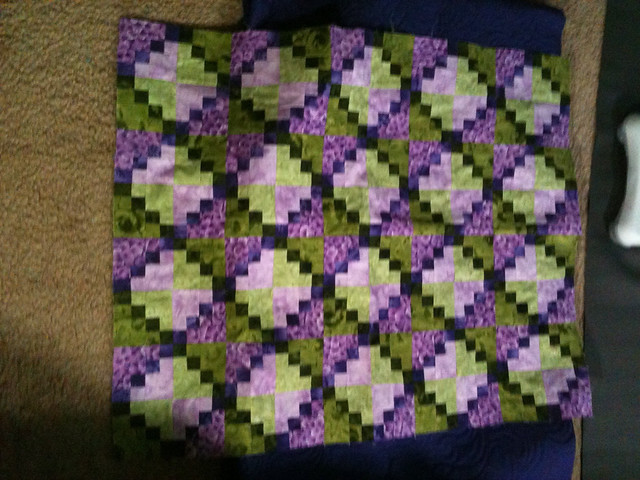
As we worked through the steps and put the blocks together I thought it was nice and I liked my color combination.  I made the number of blocks she said for the lap or throw size and put them together.  What I ended up with was a baby quilt, 32 x 36" without borders. 

I said no way, not for all that work, unless I was putting it away for a future grand baby, so I decided to make more blocks until I was happy with it.  I was definitely not going to make enough for a king size quilt. I added enough blocks to make the quilt 8 x 7 or 64" x 56", before adding the borders.

I also changed my mind about the border fabric that I had originally thought I would use and decided to use the fabrics I had used in the quilt to make a mitered border and I cut and sewed each on individually.  Later I discovered that I should have sewn all the strips together and then just mitered one time, which probably would  have helped solve the problem that Shirley had with quilting it.  She is a wonder and was able to stretch the corners and make them square for me. I think if I had done them all at once as mitered corners instead of border by border they may have been okay. Lesson learned for the next time.


Now Shirley is working her magic on my quilt and when it comes home I can bind it.  Even though this quilt has been trouble since the start, I still really like it.
Shirley did an awesome job quilting it.