Showing posts with label Bags. Show all posts

Friday, March 31, 2017

Ugly Fabric Challenge

Earlier this year a fellow quilter sent several of us a piece of "Ugly Fabric" and challenged us to make something. I thought this is fun and raided my stash looking for fabric that would go with it.  I am very happy to say that the only thing I had to buy when making this purse was the webbing for the handles.  I did buy a zipper but decided that I did not want to put one on this version.  I also decided that I was not interested in making it into a quilt. I wanted something simple that I could actually finish, not something that would add to my UFOs.

For a long time I have wanted to make a purse of my own design using things I liked from other purses to make it one I would like and so I went for it.  I measured a couple of purses I owned that were about the size I wanted, and I looked at the pockets in others to adjust them to be useful to me. I also measured and adjusted the handles to a size that worked for me, as often the handles on purses are much shorter or longer than what I really like.

The end result was this purse:

I made the purse roughly 10 inches wide and 10 inches tall, and about 5 inches wide.  I used one layer of Temtex on each of the sides and two layers in the bottom.

I made the one inside pocket long enough to fit my iPhone laying sideways.

I added a smaller pocket on the opposite side of the lining.

I also reinforced the upper edge by using Timtex on both the inner and outer side and used polyester webbing for the straps. I sealed the webbing with liquid seam stuff that I got at JoAnn's.


Then I top stitched the upper edge to the outside of the bag and quilted the top edges to really hold in the handle ends inside and reinforce them, spacing the quilting lines about 1/4" apart.

The end result is a cute purse in my opinion is very functional and stands up on its own.  I also like the contrast of the light pockets with the darker interior, as it makes it easy to locate things.  The only thing I have not yet done is to spray the purse with Scotch Guard as it has been rather cold out, and I am waiting for it warm up before doing so, after all I do live in Alaska.
Ruler, 12"size, to give you a better view of the dimensions.


I plan to make another version of this purse. I have ideas for a few modifications to my basic pattern  and am thinking I will try adding a zipper to it and maybe even add an outer zippered pocket for my cell phone, or my keys.  I like that I have come up with a design that pulls concepts from purses that I like so that I can make it functional for me.

Wednesday, September 18, 2013

The Second Ruffled Purse from Beginning to End

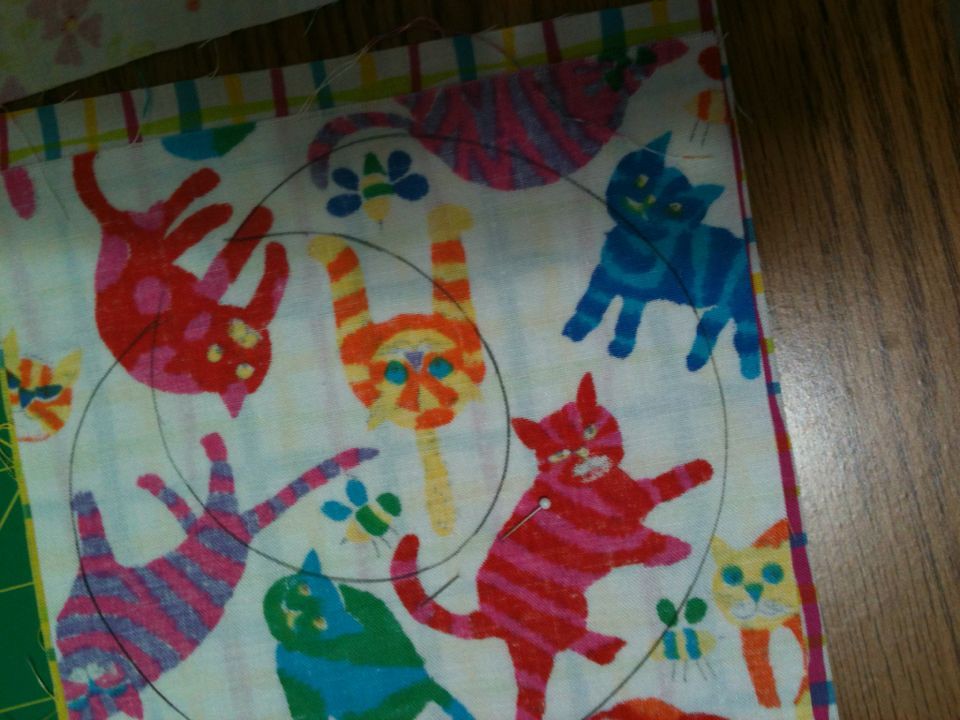
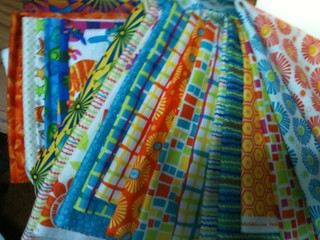
I cut out the 64 squares of fabric after deciding on what fabric to use for the purse for my niece.

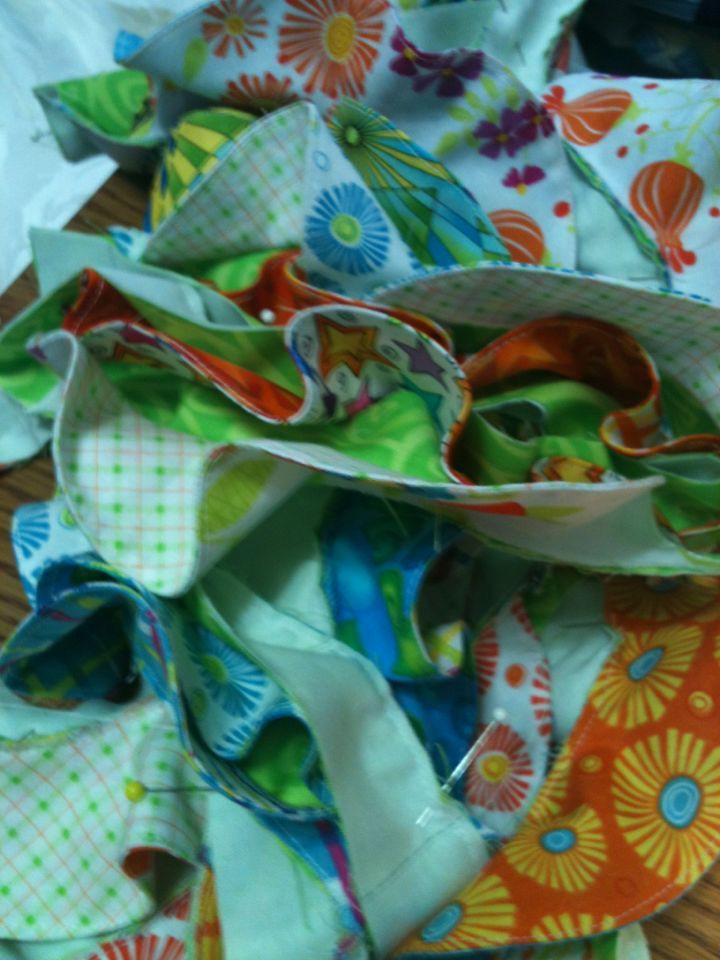
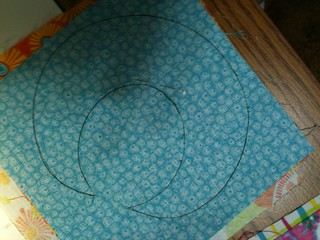
I traced 32 ruffles and sewed the outside edge of all 32 with very tiny, 1.5 stitch length.  I started cutting out the ruffles, so I can flip, press, and top stitch.

I finished cutting out the ruffles, flipping them and pressing them.


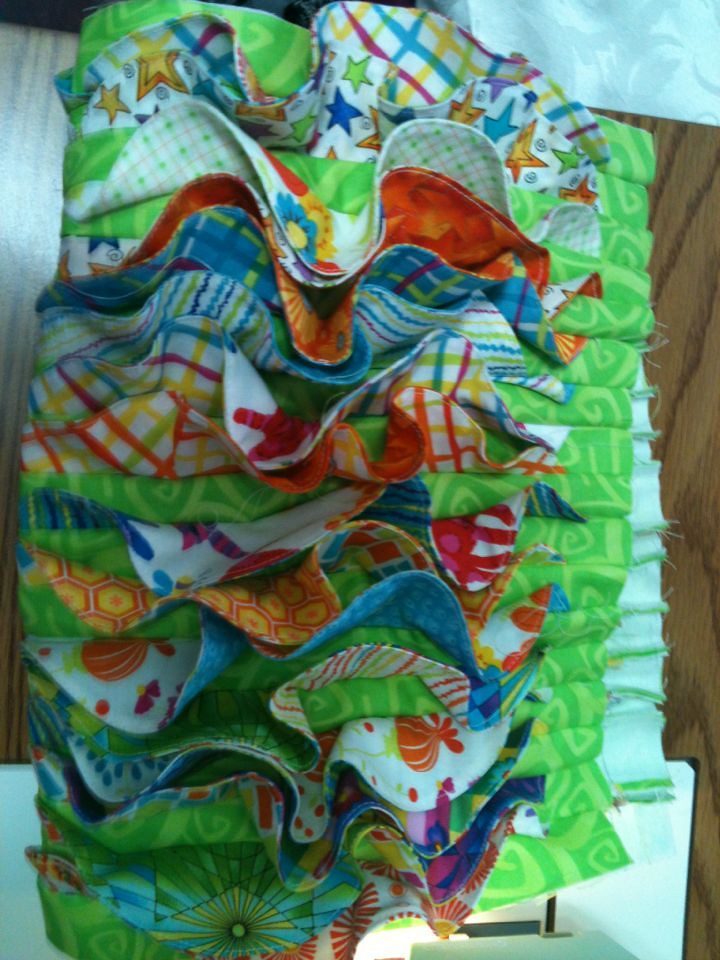
 I  top stitched all the ruffles so they are now ready to pin once I get the background strips cutout. I really hope my niece likes this purse.  I am loving it and all I have done at this point are the ruffles.

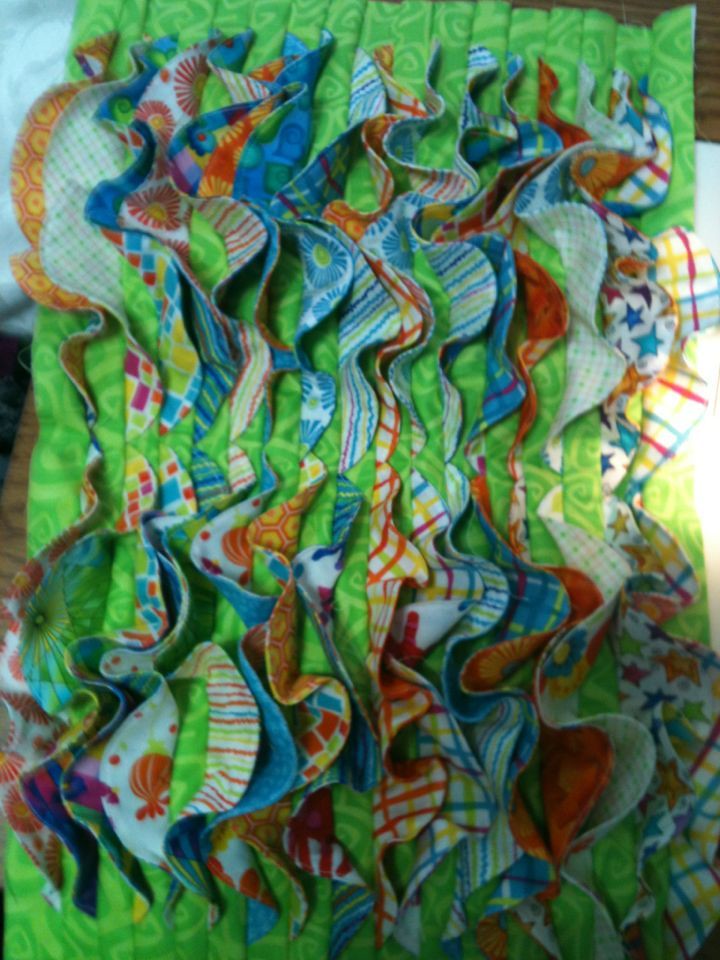
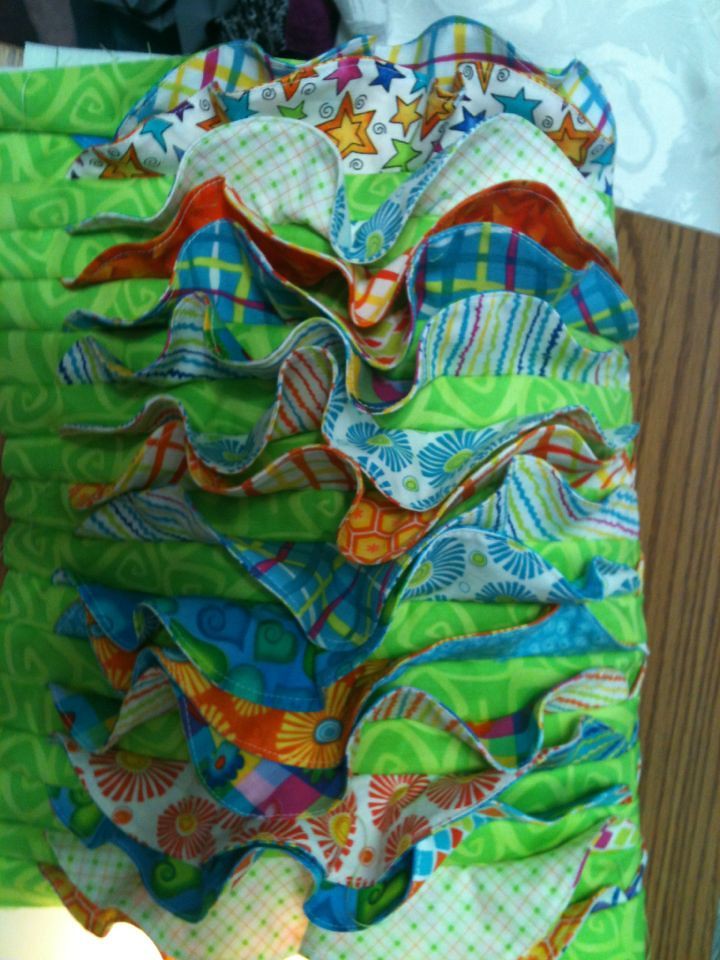
I have slowly been pinning and stitching ruffles to the strips that form the outside body of the purse. I love the look of the ruffles on the  green background, which I had to change to when I realized that I miss cut the blue because no one had any of the blue in town.  I like the green background also, so no big deal and will use the blue for pockets on the inside. I do not waste fabric.

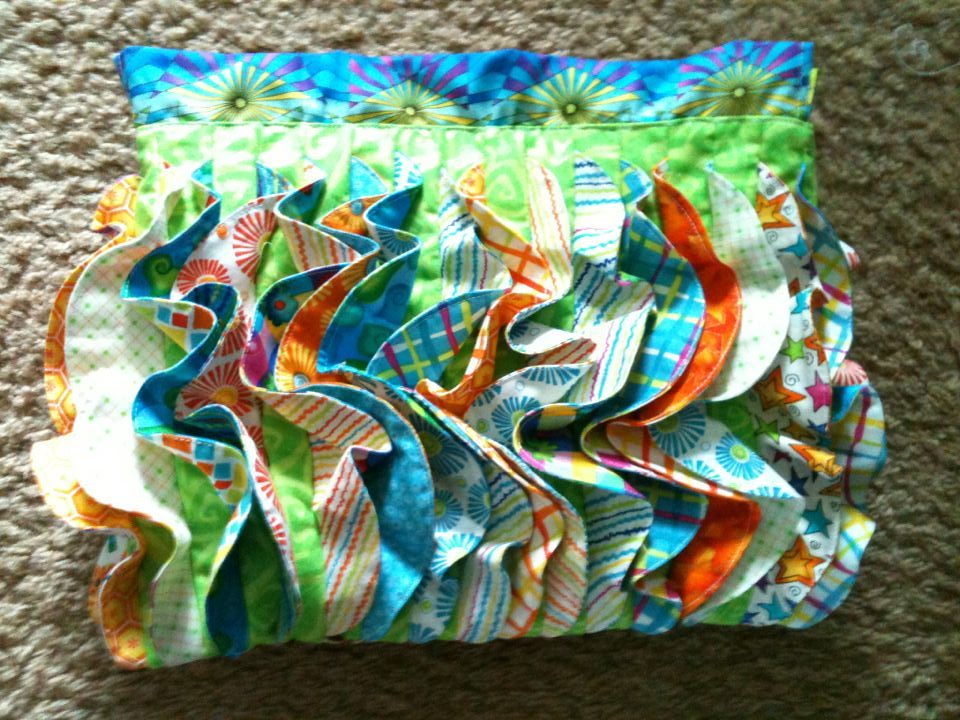
 I added the inside with pockets and then attached the tube for the cording.  The fabric shown in two different views as it was part of the print.
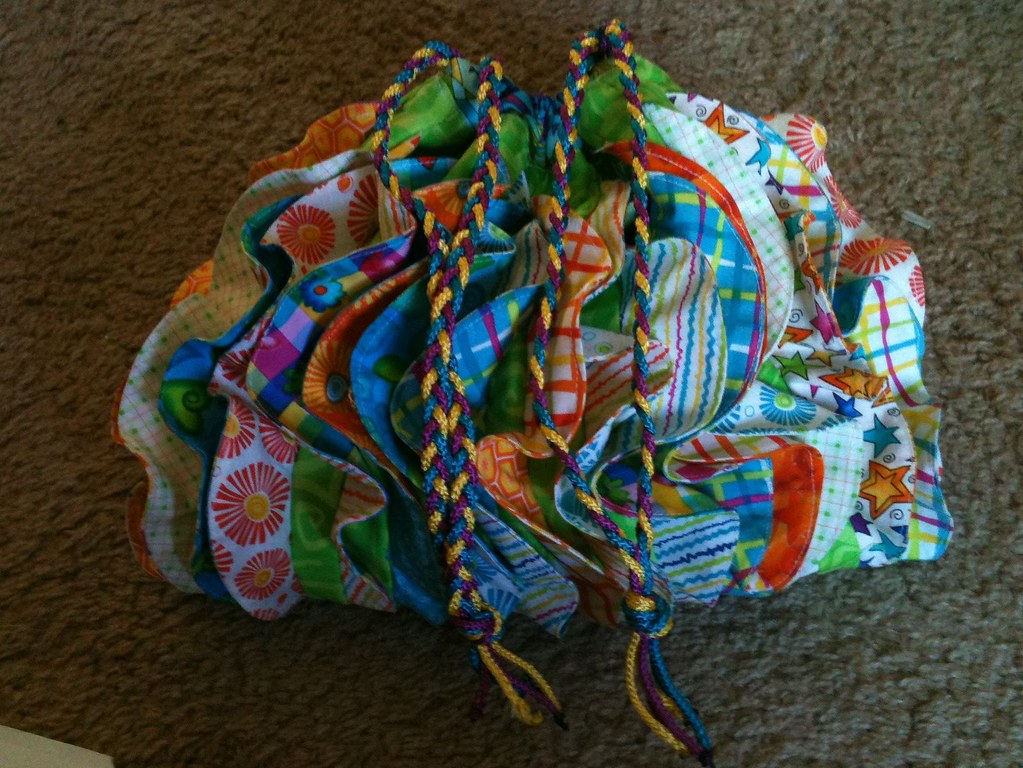
I braided the cording because I could not find cording that was the right size or color. Being a quilter I made my own.


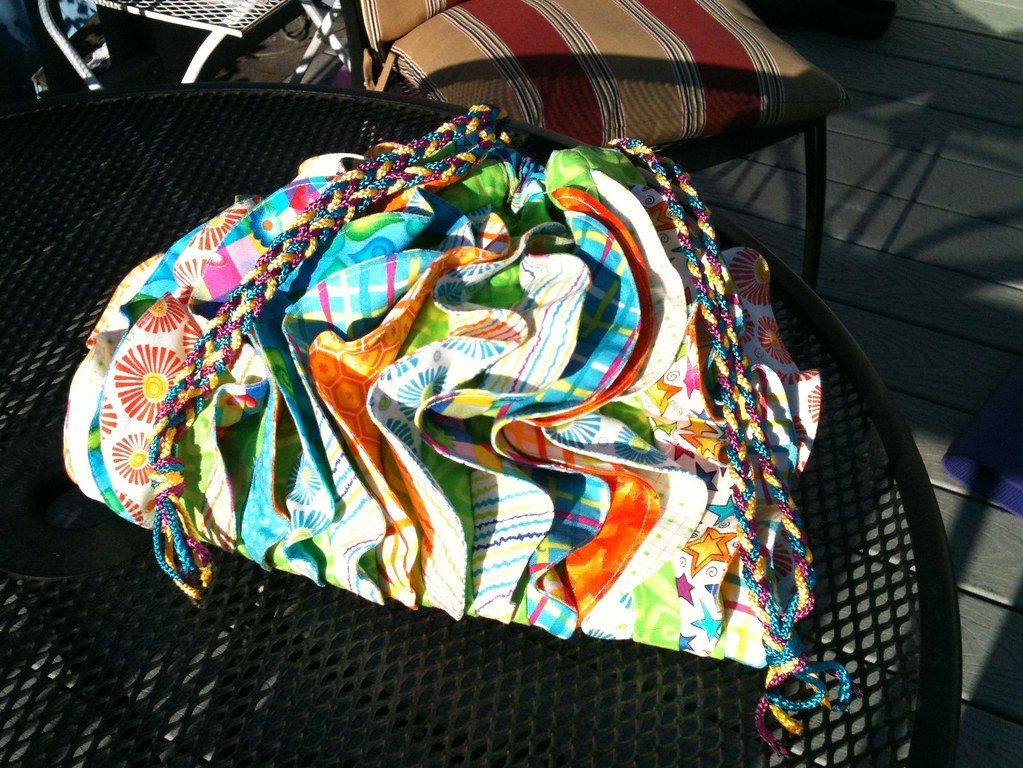
Here is a view of the purse out in the sunshine, though the colors are not clear.

This is a view that shows the colors better and you can see how well the colors in the cording match the colors in the purse.

Still need to get this in the mail, but am really hoping that my niece likes her gift.

I has fun making this purse and am thinking that I may make another one or two.  I am wondering if I could do more ruffles to make the bag deeper. It would be great for carrying shoes in this winter, or even as a lunch bag.

Saturday, March 30, 2013

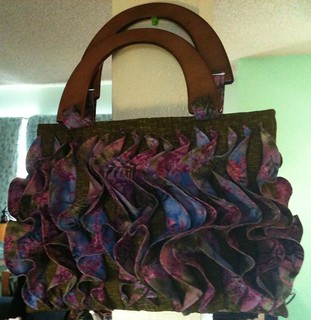
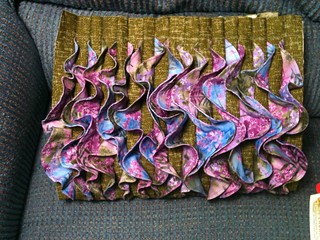
My Ruffled Purse is Done

I finished my ruffles purse in class today. It came put very nice, though sewing around the wooden handles is not fun.


I really like how my pursed turned out and am very happy with it.  Next I plan to spray it with Scotch Guard to protect it, before using it.  I think it will be great fun to carry on trips and to use in the summer.

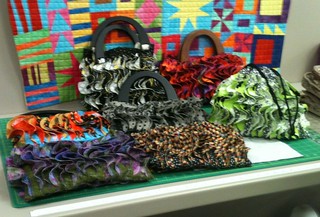
Here is a picture of all the purses which had at least the out side of the bags done.  Two of us totally completed our bags in class, everyone else was very close to finishing.

 The two bags on the far right are ones the instructor made.  I love the black and white with line green one.

I am making a second bag with a drawstring closure like the black, white, and lime green one as a gift.  I might make a third one and use these colors as the bags are not that hard to do.  

The worse part is the wooden handles as they get in the way when you are sewing the inside and outside of the purse together as you have to put them on first.  Though the bag is not a fast finish, it is not difficult to make.


Tuesday, March 26, 2013

Ruffled Purse in Progress

I started making this ruffled purse a little over a week ago.  I picked an Alaskan Fireweed fabric as my primary fabric for the ruffles with a green for the outside and a blue for the inside. Some people picked two different fabric to do their ruffles, one for each side, but my fabric is multicolored so my ruffles are all different.

First thing was to cut 64 squares roughly 6.25" square and then trace the ruffle template onto 32 of them and I was ready for my first class, last Saturday. 

In class we sewed on the outside edge of four ruffles, stacking the squares right sides together and then cut our ruffles out, flipped them to wrong sides together and pressed. Next was to top stitch. Once that was done we pressed the lightweight interfacing to our purse fabric and cut that into strips.  Next came the pinning stage and when I say pinning I mean lots, and lots, and lots, and lots of pinning. each ruffle had to be pinned to a strip, one on each end and sewn down.

When I came home on Saturday and Sunday, and today, since I subbed on Monday I continued sewing, cutting, pressing, top stitching and pinning.

Once you had to strips sewn with two ruffles on each you pinned two strips together with the ruffles all on the left.  So with 17 strips, 16 of which had 2 ruffles pinned to them, then sewn on you pinned and sewed them in to sets of two strips with ruffles on the left.

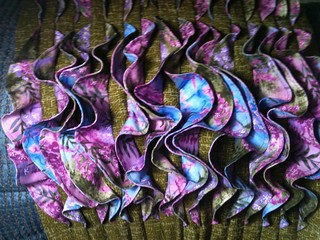
I love how the fabric I chose for the ruffles has so much color variety.
Once you had 8 sets of two strips with ruffles you pinned and sewed them into sets of 4 strips. Then pinned and sewed them into sets of 8 strips.

The bottom of the purse.


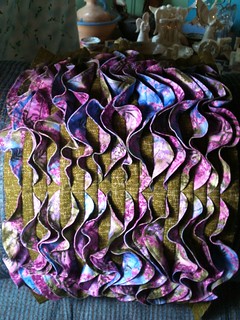
 Once again you pinned and sewed them together and added the last strip on the side with the ruffle on the outside.


This is the point I am at now. Here is my purse ready for class on Saturday, where we will be making the lining and pockets, adding a magnetic snap, tabs and a wooden handle. I plan to cut out my lining so I am ready for class.

I love how my ruffles look.

In the interim I am going to start a second bag as a gift. I am hoping to have it to the same point by class on Saturday. Though I think I will use a draw string closure on this one, just so I can make sure I do it right while in class.

Friday, March 9, 2012

Recycled Jeans

Have you thought about recycling things in your quilting. Bonnie Hunter does a lot with cotton shirts, and The QuiltShow.com with Alex Anderson and Ricky Tims posted that they love to recycle.  This inspired me to post about my use of recycled materials.  I love jeans and have used them for a few projects. I have four boxes of jeans and pieces of cut of jeans all from my two boys, my husband and myself. 
The first denim project I made was a quilt.
 The second was a denim purse made from a pair of my youngest son's jeans. I took a machine embroidery class and this was what I used to play on the machine with. Someday I will have one of those in my machine collection.
 The third was my denim jacket lined with fleece.  It is nice and warm and heavy.
I also made myself a skirt and still have several ideas floating around in my head on what else I can do with all the jeans I have collected.  We shall see what I come up with next.